Volkswagen Golf Service & Repair Manual: Removing and installing voltage regulator, manufacturer: Valeo
| Special tools and workshop equipment
required |
|
|
|
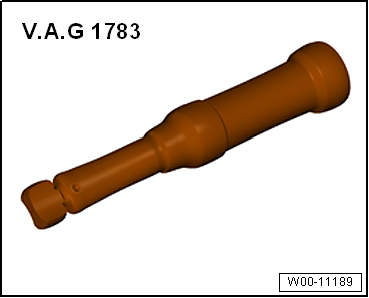
| Torque wrench -V.A.G 1783- |
| – |
Remove alternator -C-
→ Chapter. |
|
|
|
| – |
Carefully lever protective cap -1-
off alternator -C-. |
|
|

|
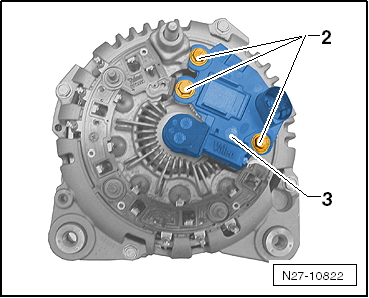
| – |
Unscrew bolts -2- for voltage
regulator -C1--3-. |
| – |
Remove voltage regulator -C1--3-
from alternator -C-. |
| Install in the reverse order of removal, observing the
following: |
| – |
Install voltage regulator -C1-. |
|
|
|
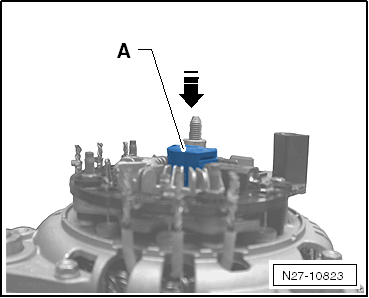
| – |
Press down deflector cap for carbon brushes
-A--arrow- until is it flush with
the voltage regulator housing. |
|
|
|
| – |
Attach new protective cap -1-
to voltage regulator -C-. |
|
|
|
| Component |
Specified torque |
| Bolts for voltage regulator
-C1- |
4 Nm |
Special tools and workshop equipment
required
Offset screwdriver for slotted-head screws -VAS 6416-
...
© 2016-2026 Copyright www.vwgolf.org

 Removing and installing voltage regulator, manufacturer: Bosch
 Starter