Volkswagen Golf Service & Repair Manual: Removing and installing seat trim on sill side, electrically adjustable seat
 Note Note
| Removal and installation are described for the left vehicle
side. Follow same instructions for the right side as
appropriate. |
| Special tools and workshop equipment
required |
|
|
|
| |
|
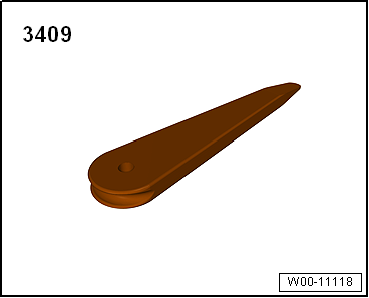
Removal wedge -3409 |
| – |
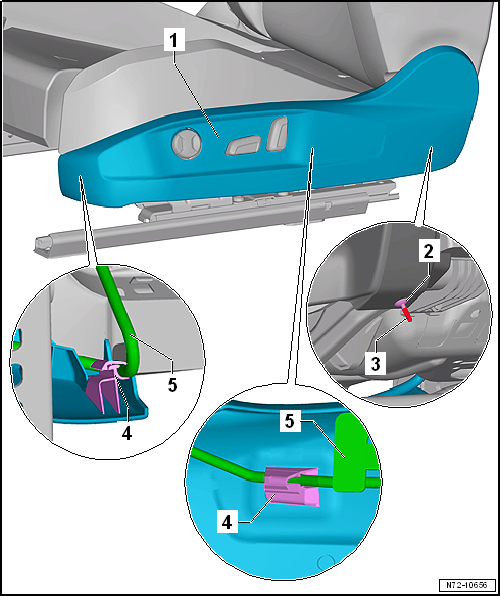
Adjust seat to fully upright position. |
| – |
Press in clamping pin -3-. |
| – |
Lever off spreader rivets -2- using
removal wedge -3409-. |
| – |
Open retainer -4- on trim
-1- working from bottom. |
| – |
Thread out trim -1- at rear. |
| – |
Remove trim -1- towards front from
bracket -5-. |
| Installation is carried out in reverse order. |
|
|
|
Note
Removal and installation are described for the left vehicle
side. Follow same instructions for the right side as
appropriate.
...
Special tools and workshop equipment
required
Torque wrench -V.A.G 1331-
...
Other materials:
Battery with »standard« colour indicator
This is a maintenance-free battery with liquid electrolyte
(wet battery).
WARNING
It is not permissible to test or charge batteries
whose colour indicator is light yellow. Do not
slave/ ...
Removing and installing Hall sender -G40-
Removing
–
Release hose clips -1- and
-2-, and remove air pipe.
–
Disconnect electrical connector -1-.
...
Assembly overview - A-pillar trim
Note
The illustration shows the A-pillar trims on the left side.
The right-hand side is similar (mirror image of left-hand side).
Upper A-pillar trim and trim for triangular window
1 -& ...
© 2016-2026 Copyright www.vwgolf.org

 Removing and installing seat trim on sill side, standard seat
 Removing and installing front backrest