Volkswagen Golf Service & Repair Manual: Removing and installing dash panel central tube
| Special tools and workshop equipment
required |
|
|
|
| |
|
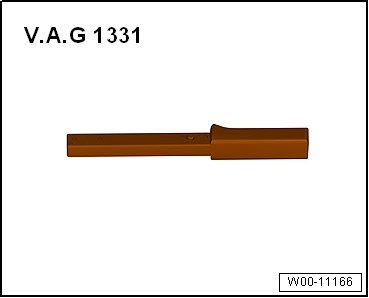
Torque wrench -V.A.G 1331 |
 Note Note
| If electrical wires are disconnected or removed and
installed, it is useful to make corresponding drawings or
photos. This guarantees that everything is re-installed in its
original position. |
| – |
Remove left plenum chamber cover
→ General body repairs, exterior; Rep. gr.50. |
|
|
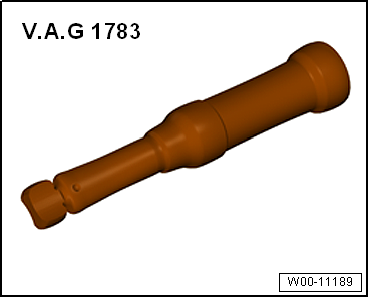
Torque wrench -V.A.G 1783 |
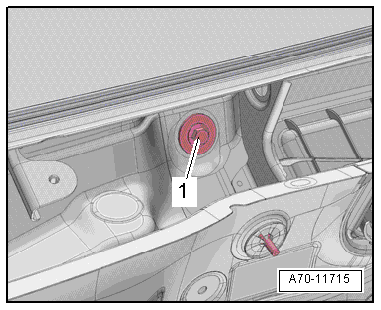
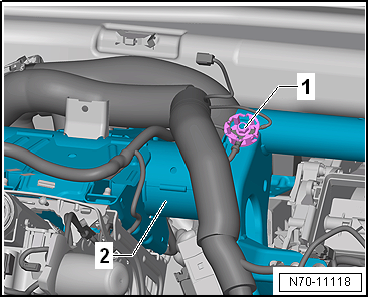
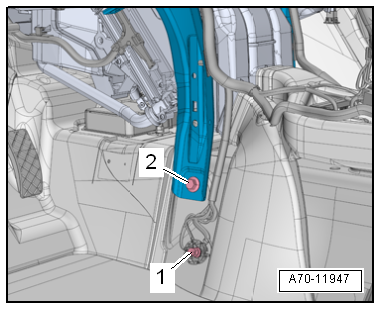
| – |
Unscrew bolt -1- for crash bar
and central tube on plenum chamber bulkhead. |
| – |
Removing dash panel
→ Chapter. |
| – |
Remove knee airbag with igniter
→ Chapter. |
| – |
Remove footwell vent on driver side
→ Heating, air conditioning; Rep. gr.87. |
|
|
|
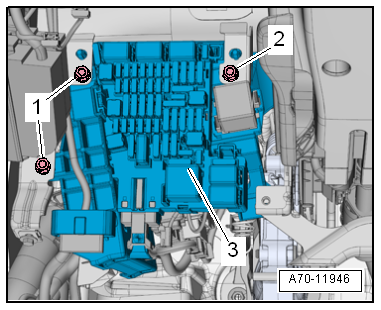
| – |
Remove bolts -1- and
-2- |
| – |
Unhook load distributor -3- on
central tube for dash panel. |
| – |
Unbolt steering column from dash panel central tube and
place it on vehicle floor
→ Running gear, axles, steering; Rep. gr.48. |
| – |
If fitted, remove interface for entry and start
authorisation -J965-
→ Electrical system; Rep. gr.97. |
|
|
|
| – |
Release expanding rivet -1- and
remove upwards. |
| – |
Remove intermediate piece for defroster function vent
-3- from dash panel central tube. |
| – |
Unclip intermediate piece for centre vent
-2- from heater and air
conditioning unit and remove it. |
|
|

|
| – |
Unscrew nut -1- on earth point
of central tube -2- and lay wires
to one side. |
| – |
Remove footwell vent on front passenger side
→ Heating, air conditioning; Rep. gr.87. |
|
|
|
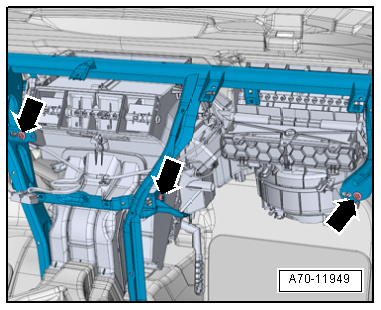
| – |
Unscrew the 3 bolts -arrows-
for heater and air conditioning unit. |
|
|
|
| In area of nuts -1- on left and
right and in area of bolt -1-, use
a scriber to mark vertical and horizontal position of dash panel
central tube in vehicle. |
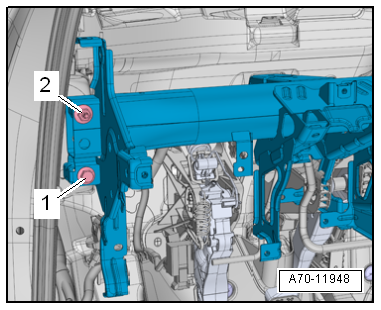
| – |
Unscrew bolt -1- for dash panel
central tube. |
| – |
Unscrew nut -2- for dash panel
central tube on A-pillar on left and right. |
| – |
Unclip wires on dash panel central tube and lay them to one
side. |
|
|
|
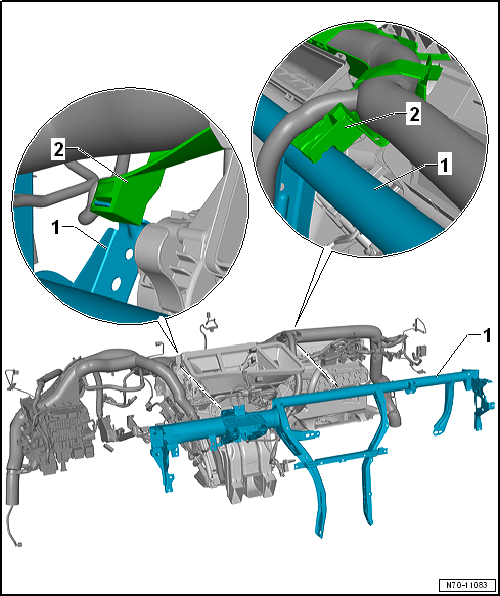
| – |
Remove wiring harness retainer -2- from
dash panel central tube -1-. |
| – |
Detach dash panel central tube -1- and
pull it slightly towards the rear. |
| – |
With aid of second mechanic, carefully lift dash panel central tube
-1- out of vehicle. Mind the wiring
harnesses while doing so. |
Note
-
| |
Before bolting dash panel central tube in place,
align it in the vehicle using the marks made during removal. |
-
| |
Before installing, check all fasteners for damage and
renew if necessary. |
| Install in reverse order, but note the following: |
 Caution
| If the centre tube is renewed, malfunctions
due to poor earthing may occur. |
-
| |
The earth points must be free of paint,
coatings and corrosion in order to ensure flawless
earth connections. |
-
| |
Threads and contact surfaces between the
central tube and the securing brackets must be free
of paint, coatings and corrosion. Threaded
connections are used as an earth connection for the
knee airbag. |
-
| |
The contact surfaces between the left and
right tunnel supports and the tunnel must be
paint-free on both sides. They serve as primary
earthing paths. |
|
| |
→ Chapter „Assembly overview - dash panel central tube“ |
|
|
|
| Component |
Specified torque |
| Nut for earth point on
central tube |
9 Nm |
| 3 bolts for load distributor on
central tube |
4.5 Nm |
Special tools and workshop equipment
required
Torque wrench -V.A.G 1331
...
Other materials:
Various securing systems
Fig. 77 On the rear seats: figures Ⓐ and
Ⓑ illustrate the main securing points for the child restraint system on the lower
retaining rings and top tether. Figure Ⓒ shows how to secure the child restraint
system using the vehicle seat belt
First read and observe the introductory informa ...
Dealing with problems with Midtronics -INC 940- battery tester
Under certain circumstances, the display may show errors or
messages according to status.
The most frequent display messages are listed below,
together with suggested solutions.
Note
For messages not liste ...
Engine preheating
Fig. 131 The front left of the bumper:
connection for engine preheating ②
First read and observe the introductory information
and safety warnings In engine preheating mode, the engine coolant is heated
slowly using a heating element while the vehicle is stationary. To do so, the cables
...
© 2016-2026 Copyright www.vwgolf.org

 Removing and installing crash bar
 Interior trims