Volkswagen Golf Service & Repair Manual: Removing and installing coolant valve for high-voltage battery -N688-
|
|
|
|
|
 Note Note
Note
|
|
 Incorporation of heat exchanger for high-voltage battery into coolant circuit of
high-voltage system
Incorporation of heat exchanger for high-voltage battery into coolant circuit of
high-voltage system
Note
Fill coolant and bleed coolant circuit
→ Rep. gr.19.
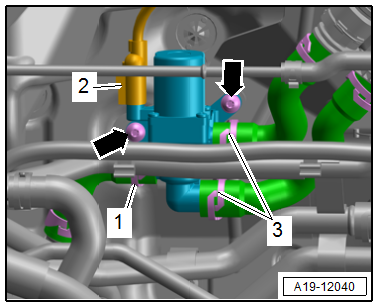
The illustration below shows only some of the compone ...
 Removing and installing coolant pump for high-voltage battery -V590-
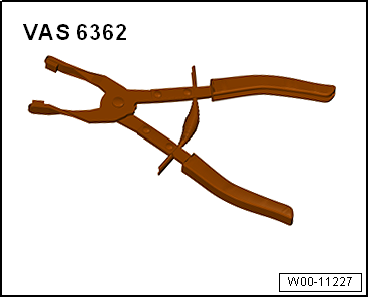
Special tools and workshop equipment
required
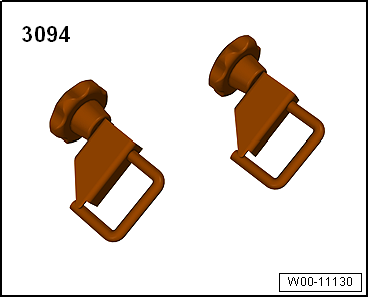
Hose clamps, up to 25 mm -3094-
...
Other materials:
Removing and installing seat trim on sill side, standard seat
Note
Removal and installation are described for the left vehicle
side. Follow same instructions for the right side as
appropriate.
Special tools and workshop equipment
required
...
Overview of fitting locations – lights in roof trim
1 -
Driver side illuminated vanity mirror -W20-
In the case of vanity mirrors with LED lighting, the entire light
must be renewed in the event of a fault.
Removing and installing
→ Chapter
2 -
...
Checking outer constant velocity joint
The joint is to be dismantled to renew the grease if it is
heavily soiled, or to check the running surfaces of the balls
for wear and damage.
Removing
–
Before disman ...
