Volkswagen Golf Service & Repair Manual: Removing and installing B-pillar trim, 4-door models and estate
| Special tools and workshop equipment
required |
|
|
|
| |
|
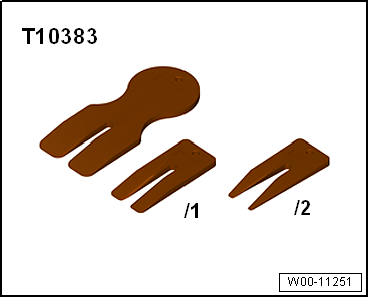
Wedges -T10383 |
| |
|
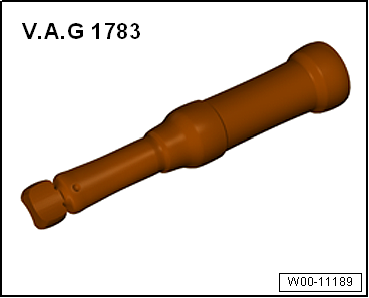
Torque wrench -V.A.G 1783- |
| Upper part of B-pillar trim |
 Note
Note
| Removal and installation are described for the left vehicle side.
Follow same instructions for the right side as appropriate. |
| – |
Remove front belt end fitting
→ Chapter. |
| – |
Move belt height adjuster to lowest position. |
| – |
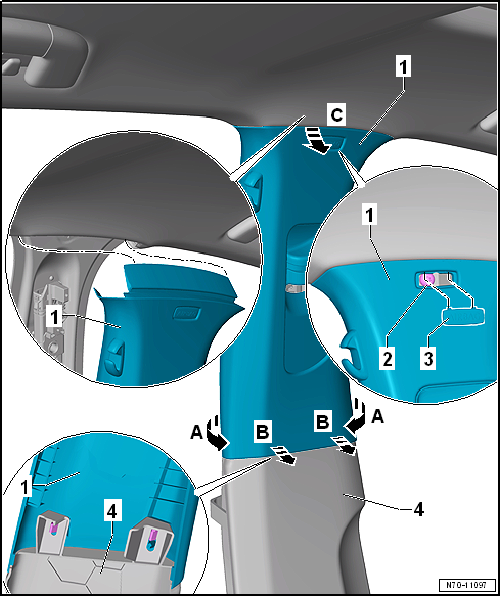
Lever out cap -3- marked with an
“airbag” symbol using a screwdriver. |
| – |
Starting at bottom, detach upper B-pillar trim
-1- from door seal -arrow A-. To do
this, fit wedge -T10383- on front edge of trim. |
| – |
Unclip upper B-pillar trim -1- from
lower B-pillar trim -4--arrows B-. To do
this, fit wedge -T10383- on lower edge of trim. |
| – |
Pull upper B-pillar trim -1- out of
body mounting -arrow C-. To do this, swing
trim towards inside and simultaneously pull it off downwards. |
| – |
Thread out belt webbing with latch plate through slider for belt
height adjuster and remove upper B-pillar trim. |
Note
| Removal and installation are described for the left vehicle side.
Follow same instructions for the right side as appropriate. |
| – |
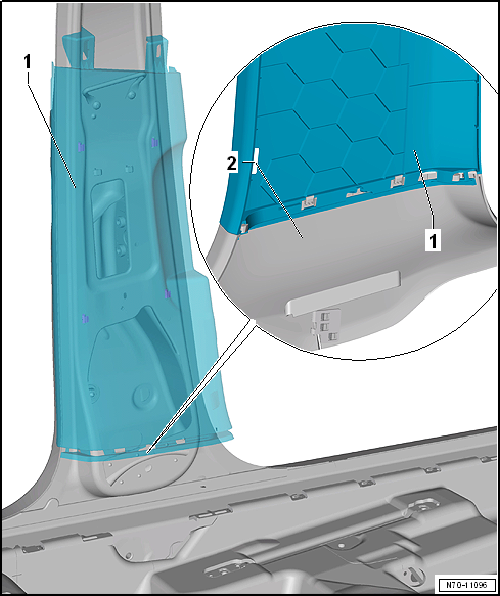
Release sill panel moulding -2- in area
of overlap to lower B-pillar trim -1-
→ Chapter. |
| – |
Release upper B-pillar trim in area of overlap to lower B-pillar
trim -1-
→ Anchor. |
| – |
Release lower B-pillar trim -1- from
door seal beading. |
| – |
Release lower B-pillar trim -1- in area
of retaining clips from body mountings using wedge -T10383-. |
| – |
If fitted, disconnect connector on button for deactivating interior
monitoring and vehicle inclination sensor -E616- and remove lower
B-pillar trim -1-. |
Note
-
| |
Before installing, check all fasteners for damage and
renew if necessary. |
-
| |
Remove any retaining clips left in body mountings
using removal tool -T40280- and fit them in B-pillar trims
for installation. |
-
| |
Following installation, ensure that the B-pillar
trims are positioned in door seal beading. |
| Installation is carried out in reverse order. |
| |
→ Chapter „Assembly overview - B-pillar trim“ |
|
|
|
Special tools and workshop equipment
required
Removal wedge -3409
...
Special tools and workshop equipment
required
Wedges -T10383
Removing
...
Other materials:
Introduction
This repair manual is intended to provide technicians and
fitters with the basic knowledge required for performing trained
work on these systems.
Note
Successful completion of a training course such as AB160 or
ST160 ...
2-pack fine filler, flexible
Designation:
2-pack fine filler, flexible -LSP 787 100 A1-
Issued 07.2010
Product description
2-pack fine filler, flexible -LSP 787 100 A1- is a two-pack
filler with g ...
Removing and installing front door trim
Note
Removal and installation are described for the front
door trim on driver side. Follow same instructions for the
front passenger side as appropriate.
Removal and instal ...
© 2016-2026 Copyright www.vwgolf.org

 Removing and installing A-pillar trim
 Removing and installing B-pillar trim, 2-door models