Volkswagen Golf Service & Repair Manual: Removing and installing A-pillar trim
| Special tools and workshop equipment
required |
|
|
|
| |
|
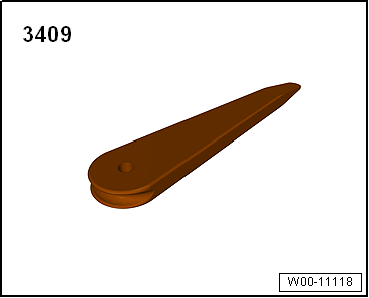
Removal wedge -3409 |
| |
|
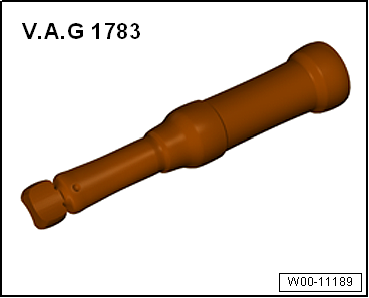
Torque wrench -V.A.G 1783 |
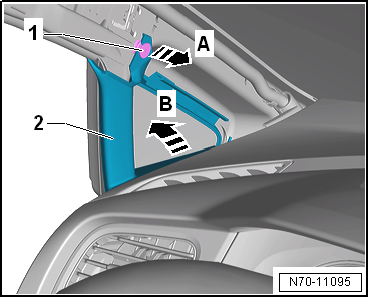
| Remove trim for triangular window. |
 Note Note
| Removal and installation are described for the left vehicle
side. Follow same instructions for the right side as
appropriate. |
| – |
Remove upper A-pillar trim
→ Anchor. |
| – |
Remove A-pillar gap cover
→ Chapter. |
| – |
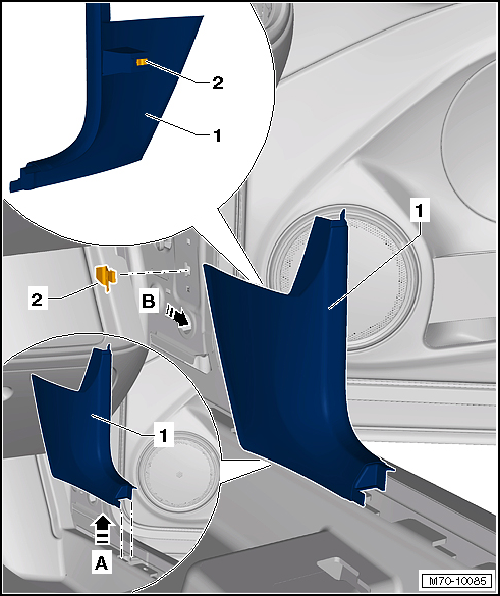
Release trim for triangular window -2-
with clip -1- in
-direction of arrow A- from body
mounting. |
| – |
Pull trim for triangular window -2-
with clip -1- upwards out of dash
panel -arrow B-. |
|
|
|
| Removing lower A-pillar trim on driver side, LHD vehicles |
| – |
Release sill panel moulding from body in area of overlap to lower
trim of A-pillar
→ Chapter. |
| – |
Remove A-pillar gap cover
→ Chapter. |
| – |
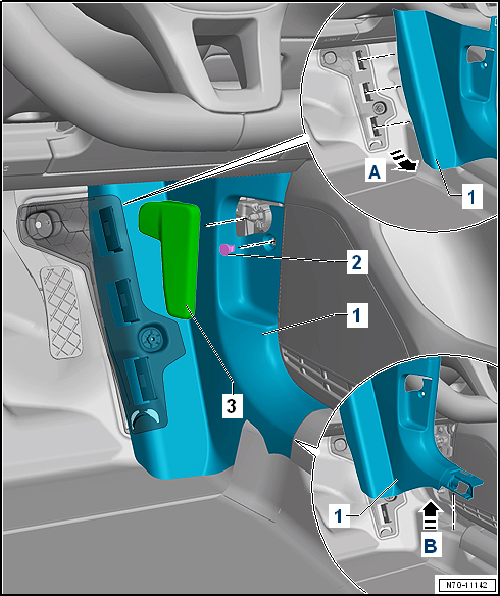
Remove bonnet operating lever -3-
→ General body repairs, exterior; Rep. gr.55. |
| – |
Release lower A-pillar trim -1- in
-direction of arrow B- from body. Release
lower A-pillar trim from door seal beading while doing so. |
| – |
Remove lower A-pillar trim -1- in
-direction of arrow A- from mounting. |
| Removing lower A-pillar trim on driver side, RHD vehicles |
| – |
Release sill panel moulding from body in area of overlap to lower
trim of A-pillar
→ Chapter. |
| – |
Remove A-pillar gap cover
→ Chapter. |
| – |
Remove bonnet operating lever -3-
→ General body repairs, exterior; Rep. gr.55. |
| – |
Unclip lower A-pillar trim -1- in
-direction of arrow A- from mountings. |
| – |
At the same time, release lower A-pillar trim
-1- in -direction of arrow B- from
body. Release lower A-pillar trim from door seal beading while doing so. |
| – |
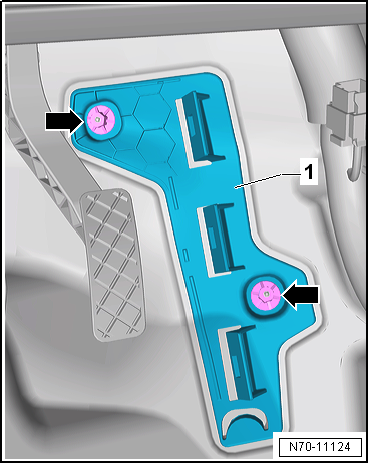
Push floor covering in area of bolted connections aside and
unscrew nuts -arrows-. |
| – |
Lift bracket -1- off studs and
pull it out from beneath floor covering. |
|
|
|
| Removing lower A-pillar trim on front passenger side |
| – |
Release sill panel moulding from body in area of overlap to lower
trim of A-pillar
→ Chapter. |
| – |
Remove A-pillar gap cover
→ Chapter. |
| – |
Release lower A-pillar trim -1- in
-direction of arrow A- from body. Release
lower A-pillar trim from door seal beading while doing so. |
| – |
Remove lower A-pillar trim -1- in
-direction of arrow B- from A-pillar. |
Note
-
| |
Before installing, check all fasteners for damage and
renew if necessary. |
-
| |
Remove any retaining clips left in body mountings
using removal tool -T40280- and fit them in A-pillar trims
for installation. |
-
| |
Following installation, ensure that the A-pillars
trim are positioned in door seal beading. |
| Installation is carried out in reverse order. |
| |
→ Chapter „Assembly overview - A-pillar trim“ |
|
|
|
Note
Removal and installation are described for the left
vehicle side. Follow same instructions for the right side as
appropriate.
...
Special tools and workshop equipment
required
Wedges -T10383
&n ...
© 2016-2026 Copyright www.vwgolf.org

 Caution
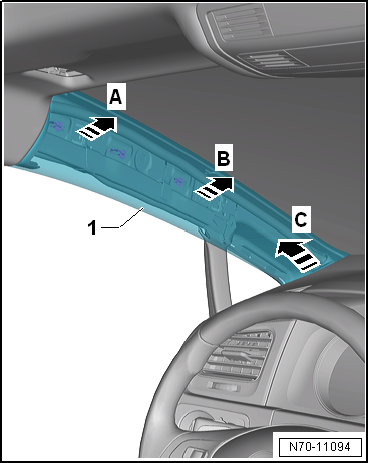
 Removing and installing A-pillar gap cover
 Removing and installing B-pillar trim, 4-door models and estate