Volkswagen Golf Service & Repair Manual: Removing and installing B-pillar trim, 2-door models
| Special tools and workshop equipment
required |
|
|
|
| |
|
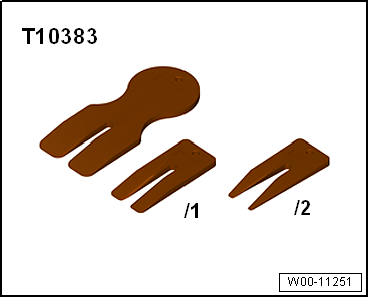
Wedges -T10383 |
| Upper part of B-pillar trim |
 Note
Note
| Removal and installation are described for the left vehicle side.
Follow same instructions for the right side as appropriate. |
| – |
Remove front belt end fitting
→ Chapter. |
| – |
Move belt height adjuster to lowest position. |
| – |
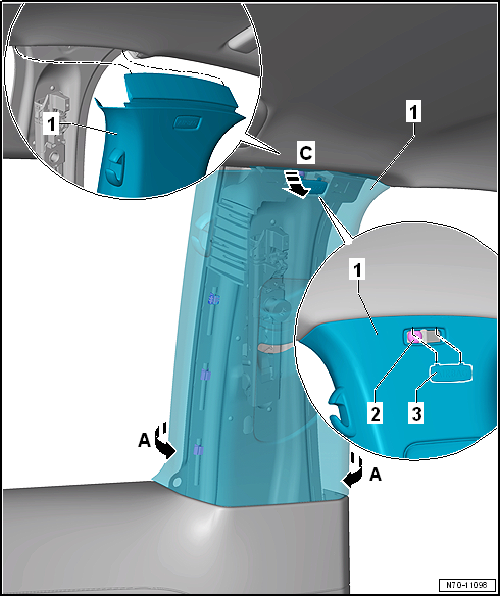
Lever out cap -3- marked with an
“airbag” symbol using a screwdriver. |
| – |
Release side trim panel in area of overlap to upper B-pillar trim
-1-
→ Chapter. |
| – |
Starting at bottom, detach upper B-pillar trim
-1- from door seal and release it from retaining clips
-arrows A- using wedge -T10383-. |
| – |
Pull upper B-pillar trim -1- out of
body mounting -arrow C-. To do this, swing
trim towards inside and simultaneously pull it off downwards. |
| – |
Thread out belt webbing through slider for belt height adjuster and
remove upper B-pillar trim. |
Note
-
| |
Before installing, check all fasteners for damage and
renew if necessary. |
-
| |
Following installation, ensure that the upper
B-pillar trim is positioned in door seal beading. |
| Installation is carried out in reverse order. |
| |
→ Chapter „Assembly overview - B-pillar trim“ |
|
|
|
Special tools and workshop equipment
required
Wedges -T10383
&n ...
Note
Removal and installation are described for the left
vehicle side. Follow same instructions for the right side as
appropriate.
...
Other materials:
Removing and installing fuel pressure sender -G247-
Special tools and workshop equipment
required
Assembly tool -T10118-
Socket, 27 mm -T40218- or commercially available 27 mm ...
Wiring open circuit with two repair positions
Repair position with interlinked wire.
–
Place the wire to be repaired to the side at two points
(about 20 cm to both sides of the relevant repair position).
–
If necessary, unbind the wiring harnes ...
Service position for the front windscreen wipers
Fig. 88 Wiper blades in service position
First read and observe the introductory information
and safety warnings The windscreen wiper arms can be lifted off the windscreen
when in the service position . Carry out the following steps to move the windscreen
wipers to the service position ...
© 2016-2026 Copyright www.vwgolf.org

 Removing and installing B-pillar trim, 4-door models and estate
 Removing and installing C-pillar trim, saloon