Volkswagen Golf Service & Repair Manual: Removing and installing C-pillar trim, saloon
 Note Note
| Removal and installation are described for the left
vehicle side. Follow same instructions for the right side as
appropriate. |
| Special tools and workshop equipment
required |
|
|
|
| |
|

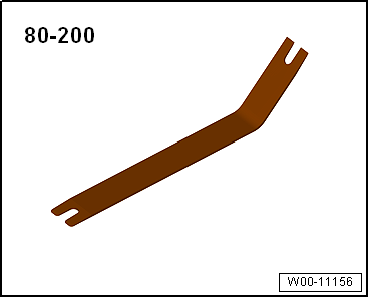
Removal lever -80 - 200 |
| – |
Remove rear shelf support
→ Chapter. |
| – |
Remove roof end strip
→ Chapter. |
| – |
Unclip -arrows A- C-pillar trim
in area of retaining clips from body mountings using removal
lever -80 - 200-. |
| – |
Remove C-pillar trim downwards -arrow
B-. |
 Note Note
-
| |
Before installing, check all fasteners for damage and
renew if necessary. |
-
| |
Remove any retaining clips left in body mountings
using removal tool -T40280- and fit them in C-pillar trim
for installation. |
-
| |
Following installation, ensure that the C-pillar trim
is positioned in rear lid seal beading. |
| Installation is carried out in reverse order. |
|
Special tools and workshop equipment
required
Wedges -T10383
Removing
...
Note
Removal and installation are described for the left
vehicle side. Follow same instructions for the right side as
appropriate.
...
© 2016-2026 Copyright www.vwgolf.org

 Note
Note Note
Note Removing and installing B-pillar trim, 2-door models
 Removing and installing C-pillar trim, estate
