Volkswagen Golf Service & Repair Manual: Removing and installing alternator, GTD
| Special tools and workshop equipment
required |
|
|
|
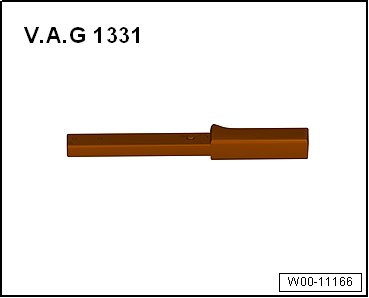
| Torque wrench -V.A.G 1331- |
|
|
|
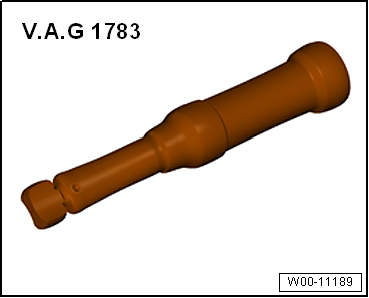
| Torque wrench -V.A.G 1783- |
| – |
With ignition switched off, disconnect earth cable from
battery -A-
→ Chapter. |
| – |
Remove tensioner for poly V-belt
→ Rep. gr.13. |
| – |
Remove front part of right wheel housing liner
→ Rep. gr.66. |
| – |
Remove radiator cowl
→ Rep. gr.19. |
| – |
Drain off coolant
→ Rep. gr.19. |
| – |
Remove coolant hose from radiator
→ Rep. gr.19. |
| Vehicles with auxiliary heater |
| – |
Remove auxiliary heater exhaust pipe
→ Rep. gr.82. |
| Vehicles with air conditioner |
 Caution
| Risk of damage to air conditioner compressor,
refrigerant lines and refrigerant hoses: |
| Make sure refrigerant lines and hoses are not
excessively stretched, kinked or bent. |
|
| – |
Remove air conditioner compressor from bracket
→ Heating, air conditioning system; Rep. gr.87. |
| – |
Secure air conditioner compressor to lock carrier so that
refrigerant lines are not under tension. |
| Continued for all vehicles |
|
|
|
Checking alternator
| |
Checking alternator -C-
→ Vehicle diagnostic tester. |
Special tools and workshop equipment
required
Torque wrench -V.A.G 1331-
...
Special tools and workshop equipment
required
Socket -3310-
...
© 2016-2026 Copyright www.vwgolf.org

 Note
Note
 Removing and installing alternator, vehicles with TDI engine
 Removing and installing poly V-belt pulley without freewheel