Volkswagen Golf Service & Repair Manual: Removing and installing shock absorber, multi-link suspension, left shock
absorber
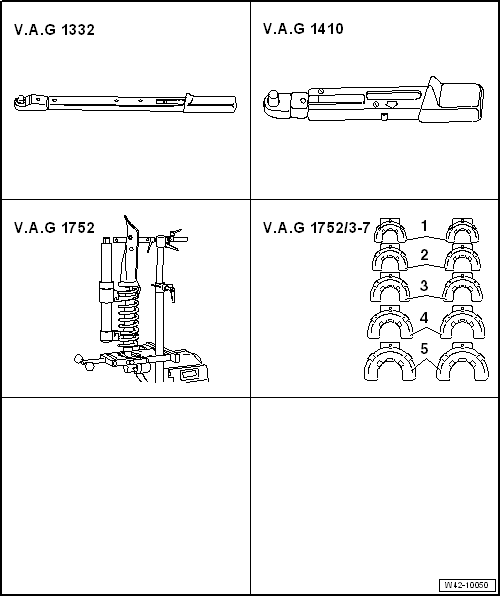
| Special tools and workshop equipment required |
| Torque wrench -V.A.G 1332- |
| Torque wrench -V.A.G 1410- |
| Spring compressor -V.A.G 1752/1- |
| Spring retainer -V.A.G 1752/3A- |
| Adapter -V.A.G 1752/9-, not illustrated |
| – |
Remove rear wheel housing liner
→ General body repairs, exterior; Rep. gr.66. |
| Vehicles with vehicle level sender |
|
|
|
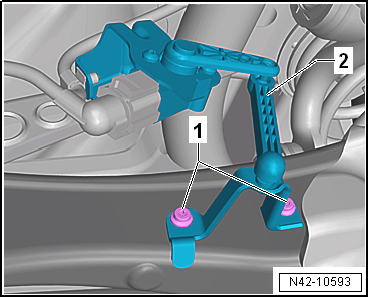
| – |
Remove retainer for rear left vehicle level sender-2-. |
| Vehicles with adaptive chassis control DCC |
|
|
|
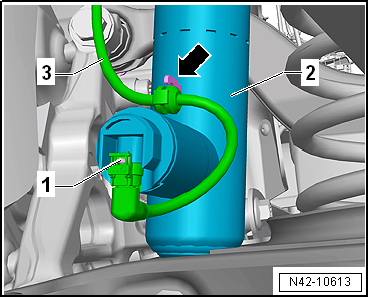
| – |
Disconnect connector -1- on
shock absorber -2-. |
| – |
Pull line -3- off shock
absorber -2--arrow-. |
 Note Note
| If there is moisture in the area of the connector, blow
compressed air on the contacts on the shock absorber and the
connector. |
| Continuation for all vehicles |
|
|
|
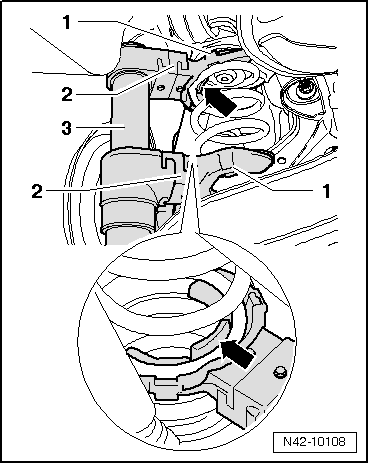
| – |
Insert spring compressor-3-. |
| 1 - |
Spring retainer -V.A.G 1752/3A- |
| 2 - |
Adapter -V.A.G 1752/9- |
| 3 - |
Spring compressor -V.A.G 1752/1- |
 WARNING
| Ensure that coil spring is correctly seated in
spring retainers -V.A.G 1752/3A--2-. |
|
| – |
Compress coil springs until load on shock absorber is
relieved. |
|
|
|
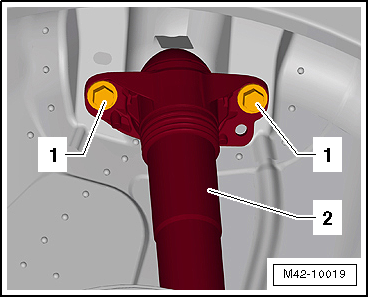
| – |
Unscrew bolts -1- for shock
absorber -2-. |
| Vehicles with stone guard |
|
|
|
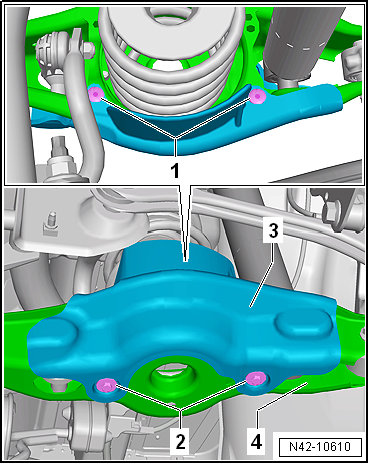
| – |
Remove spreader rivet -1-. |
| – |
Remove bolts -2- for stone
guard -3-. |
| – |
Remove stone guard -3- from
lower transverse link -4-. |
| Continuation for all vehicles |
|
|
|
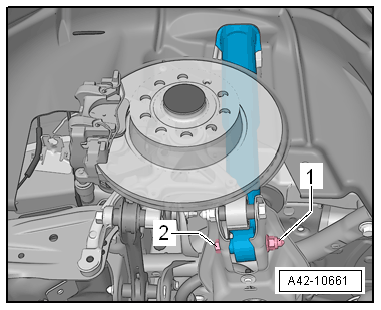
| – |
Unscrew nut -1- and remove bolt
-2-. |
| Install in reverse order of removal, observing the
following: |
| The threaded connections of the shock absorber to the lower
transverse link may only be loosened and tightened in the
unladen weight position
→ Chapter. |
| – |
On vehicles with vehicle level sender, carry out basic
settings for wheel damper electronics → Vehicle
diagnostic tester. |
| → Chapter „Assembly overview - suspension strut, shock absorber,
spring, multi-link suspension“ |
| → Chapter „Assembly overview - transverse link“ |
| → Chapter „Torque settings for wheel bolts“ |
| Wheel housing liner
→ General body repairs, exterior; Rep. gr.66. |
|
|
|
Special tools and workshop equipment required
Torque wrench -V.A.G 1332-
Torque wrench -V.A.G 1410-
Spring compressor -V.A.G 1752/1 ...
Special tools and workshop equipment required
Torque wrench -V.A.G 1332-
Torque wrench -V.A.G 1410-
Spring compressor -V.A.G 1752/1 ...
Other materials:
Operating and display unit
Overview of control and display unit
1 -
Heated driver seat regulator
Optional
Seat heater has 3 heat settings. Current setting is shown by LED.
If no LED is lit, seat heating is switched off.
2 -
...
Emptying fuel tank less than 3/4
full, vehicles with four-wheel drive
Special tools and workshop equipment required
Removal wedge -3409-
Special wrench -T10202-
Fuel extractor -VAS 5190A- (for E 85 fuel)
Fuel extractor -VAS 5190- (not shown)
–
...
Checking child seat anchors after an accident
Points to check
Child seat anchors must be checked for damage and
deformation after an accident.
Child seat anchors welded to the body or the seats/backrests
or bolted in place may not be repaired or straightened.
...
© 2016-2026 Copyright www.vwgolf.org

 Removing and installing shock absorber, torsion beam axle
 Removing and installing shock absorber, multi-link suspension, right shock
absorber
Removing and installing shock absorber, multi-link suspension, right shock
absorber