Volkswagen Golf Service & Repair Manual: Removing and installing output module 1 for left LED headlight -A31-/-A27-
| Special tools and workshop equipment
required |
|
|
|
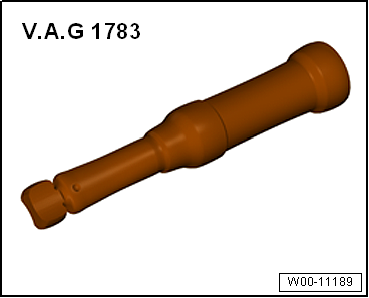
| Torque wrench -V.A.G 1783- |
|
|
|
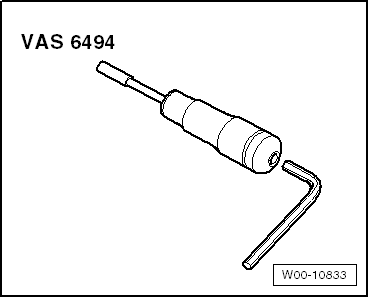
| Torque screwdriver -VAS 6494- |
 Note Note
| Removal and installation are described for the left side.
Removal and installation on the right side are carried out in
the same way. |
| – |
Remove headlight
→ Chapter. |
|
|
|
| – |
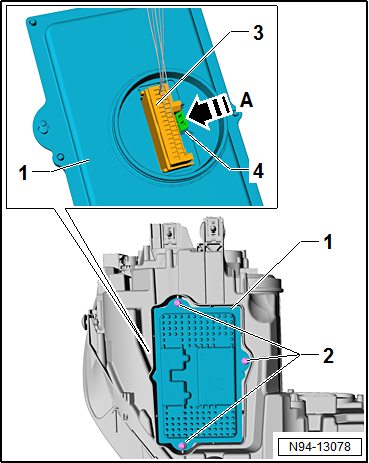
Pull output module 1 for left LED headlight -A31--1-
off headlight. |
| – |
Press release button -4- in
direction of arrow -A-. |
| – |
Disconnect electrical connector -3-. |
| Install in the reverse order of removal, observing the
following: |
 Caution
| Make sure the seal is correctly seated when
installing the output module 1 for left LED headlight
-A31-. The ingress of water will lead to permanent
damage to the headlight. |
|
| – |
Check seal between output module 1 for left LED headlight
-A31- and headlight for damage. |
| → Chapter „Assembly overview - LED headlights“ |
|
|
|
WARNING
Risk of death due to high voltage! Risk of injury
and environmental pollution!
...
Note
Control motor sender for left VARILIS headlight -G695- and
control motor sender for right VARILIS headlight -G696- are only
fitted on gas di ...
Other materials:
Closing the tailgate
Fig. 38 Open tailgate: handle recess for
closing the tailgate
First read and observe the introductory information
and safety warnings Closing the tailgate
Grip one of the handles in the interior trim of the tailgate (arrows).
Pull the tailgate down with some force until it e ...
Layout - multi-function steering wheel
For a better usability of infotainment, telephone,
navigation, cruise control system and vehicle menu, buttons are
integrated in steering wheel. For Tiptronic, additional rocker
switches are provided to the right and to the left.
The con ...
Introduction
This chapter contains information on the following subjects:
→ Fuses in the vehicle
→ Fuse table
→ Fuse tables for fuses in the engine compartment
→ Changing a blown fuse
At the time of print we are unable to provide an complete overview of the locations
of t ...
© 2016-2026 Copyright www.vwgolf.org

 Removing and installing output module 2 for headlights,
»R«
Removing and installing output module 2 for headlights,
»R« Removing and installing control motor sender for VARILIS headlight
-G695-/-G696-
Removing and installing control motor sender for VARILIS headlight
-G695-/-G696-