Volkswagen Golf Service & Repair Manual: Removing and installing earth wire with battery monitor control unit -J367-,
vehicles with high-voltage system
| Special tools and workshop equipment
required |
|
|
|
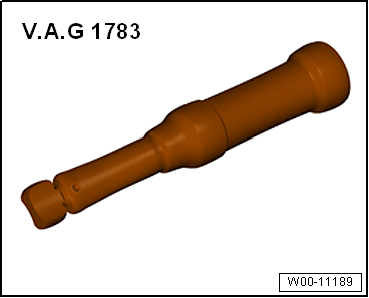
| Torque wrench -V.A.G 1783- |
| – |
Remove ignition key, if inserted. |
| – |
Remove luggage compartment floor from vehicle towards rear. |
|
|
|
| – |
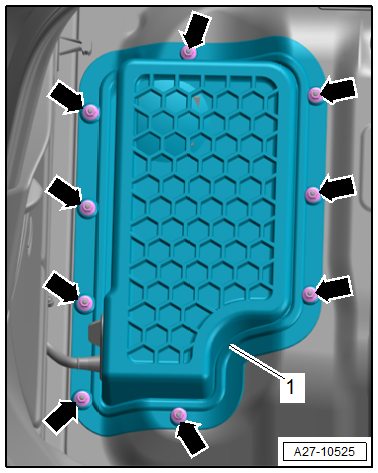
Unscrew nuts -arrows- for cover
-1-. |
| – |
Swing cover -1- upwards as far
as it will go. |
|
|
|
| – |
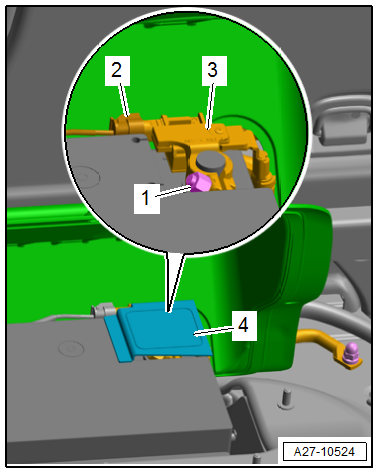
Open cover -4- for negative
battery terminal. |
| – |
Unplug electrical connector -2-
at battery monitor control unit -J367--3-. |
| – |
Loosen nut -1- several turns,
and disconnect battery terminal clamp of earth cable from
battery negative terminal. |
|
|
|
| – |
Unscrew nut -2- of earth wire
-1-. |
| – |
Press grommet in cover towards inside as far as it will go. |
|
|

|
| – |
Guide earth wire -3- out of
cover. |
| – |
Remove battery terminal clamp -1-
together with battery monitor control unit -J367--2-
and earth wire -3-. |
| Install in the reverse order of removal, observing the
following: |
| – |
Reconnect battery -A-
→ Chapter. |
| – |
Adapt battery monitor control unit -J367-
→ Chapter. |
| → Chapter „Assembly overview – battery, vehicles with
high-voltage system“ |
|
|

|
| Adapting battery monitor control unit
-J367- |
| After the installation of a new starter battery or a new
battery monitor control unit -J367-, the battery monitor control
unit -J367- must be adapted. |
| – |
Connect vehicle diagnostic tester
→ Chapter. |
| – |
Adapt battery monitor control unit -J367-
→ Vehicle diagnostic tester. |
|
|
|
Special tools and workshop equipment
required
Torque wrench -V.A.G 1331-
Removin ...
Other materials:
Blender
Designation:
Blender -LVE 013 100 A2-
Issued 10.2012
Product description
Blender was developed to guarantee easy blending-in of
2-pack clear coats and top coats.
...
Overview - drive shaft
I -
→ Chapter „Assembly overview - drive shaft, constant velocity joint
VL100“
II -
→ Chapter „Assembly overview - drive shaft, constant velocity joint
VL107“
III -
→ Cha ...
Removing and installing side trim panel
Note
Removal and installation are described for the left
vehicle side. Follow same instructions for the right side as
appropriate.
Special tools and workshop equipment
required
...
© 2016-2026 Copyright www.vwgolf.org


 Removing and installing earth wire with battery monitor control unit -J367-,
vehicles without high-voltage system
 Alternator