Volkswagen Golf Service & Repair Manual: Removing and installing brake pads, front brakes
| Special tools and workshop equipment
required |
|
|
|
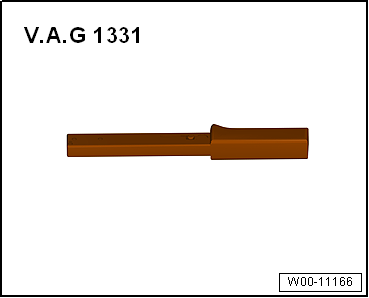
| Torque wrench -V.A.G 1331- |
|
|
|
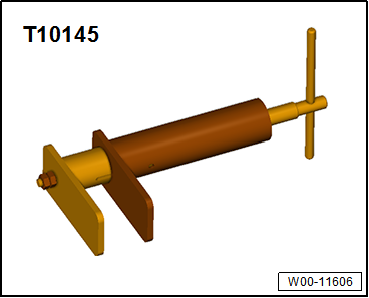
| Piston resetting appliance -T 10145- |
 Note Note
| Mark brake pads/linings when removing if they are to be
reused. Fit in same position when installing, or braking will be
uneven. |
| – |
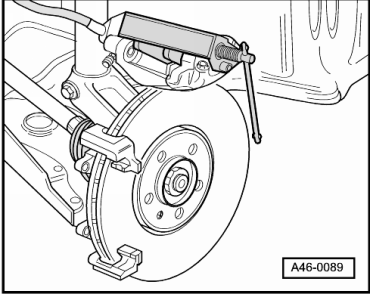
Disconnect connector for brake pad wear indicator. |
| The brake pad wear indicator is installed on front right. |
|
|
|
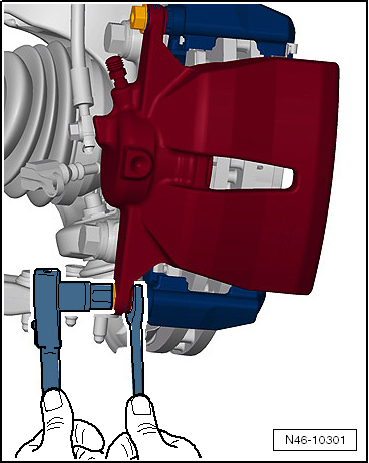
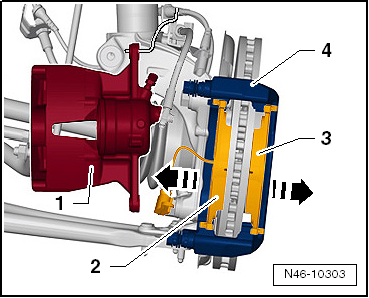
| – |
Unscrew both securing bolts from brake caliper,
counterholding on guide pin. |
|
|
|
| – |
Apply a thin coat of lithium grease G 052150 A2 to brake pad
guide surfaces on brake carrier. |
|
|
|
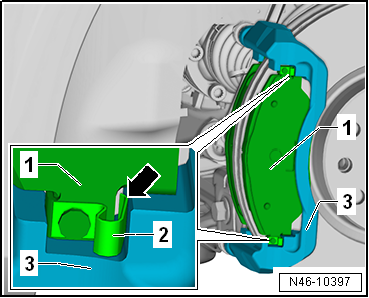
| – |
Place brake pads -1- together
with retaining springs -2- in
recess of brake carrier -3-. |
Note
| After fitting brake pads, check that all retaining springs
-2- are properly seated
-arrow-. |
| – |
Carefully place brake caliper on brake carrier. |
|
|
|
| – |
Secure brake caliper to brake carrier with new self-locking
bolts, counterholding on guide pin. |
| – |
Connect brake pad wear indicator connector. |
| → Chapter „Assembly overview - front brakes“ |
| Wheel bolts
→ Running gear, axles, steering; Rep. gr.44. |
Note
| After every brake pad change, depress brake pedal firmly
several times with vehicle stationary, so that brake pads are
properly seated in their normal operating position. |
| Check brake fluid level after changing brake pads. |
|
|
|
Note
After every brake pad change, depress brake pedal firmly
several times with vehicle stationary, so that brake pads are
properly seated in th ...
Special tools and workshop equipment
required
Torque wrench -V.A.G 1331-
...
© 2016-2026 Copyright www.vwgolf.org

 Assembly overview - front brakes
 Removing and installing brake caliper