Volkswagen Golf Service & Repair Manual: Removing and installing backrest cover and backrest padding
| Volkswagen R GmbH, optional equipment
»R« |
 Note
| Removal and installation is described for the left seat.
Apply the same instructions for removal and installation of
right seat components as appropriate. |
| Special tools and workshop equipment
required |
|
|
|
| |
|
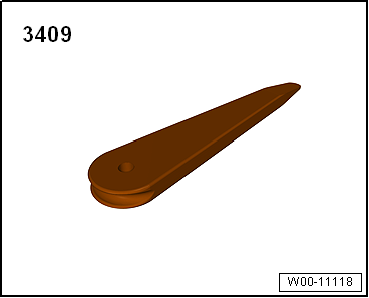
Removal wedge -3409 |
| |
|
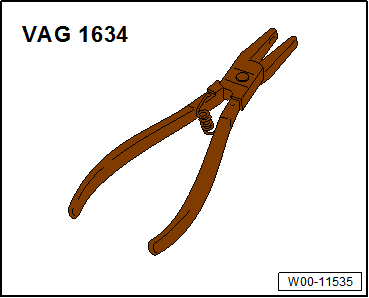
Upholstery clip pliers -V.A.G 1634 |
| Only seats without through-loading function |
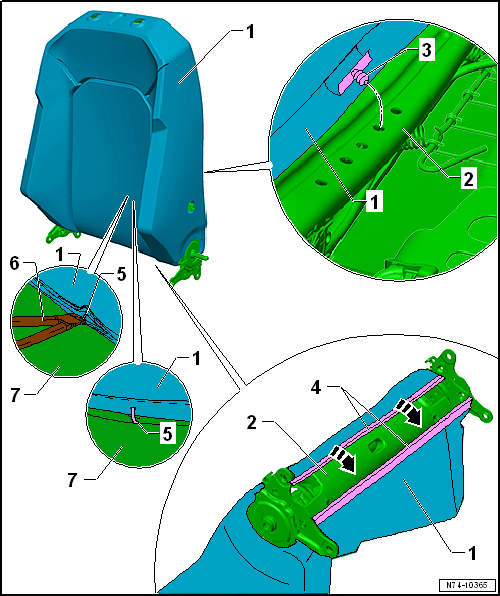
| – |
Open beading strip -4- using front-end
hook -3438-. |
| Only seats with through-loading function |
| A zip fastener is installed instead of the beading strip
-4-. |
| Continuation for all seats |
| – |
Roll backrest cover -1- upwards at
front and rear. |
| – |
Pull backrest cover -1- upwards in
order to gain access to the upholstery clips -5-
on left and right. |
| – |
Open upholstery clips -5- using pliers
-6-. |
| – |
Pull backrest cover -1- on padding
-7- upwards. |
| – |
Pull backrest cover -1- further upwards
in order to gain access to the upholstery clips
-5-. |
| – |
Detach clip -3- from backrest frame
-2- on both sides at the rear. |
| – |
Use removal wedge -3409- for this. |
| – |
Open upholstery clips -5- on backside. |
| – |
Pull backrest cover -1- further upwards
in order to gain access to the upholstery clips
-5-. |
Note
| The uppermost retaining clips need not be removed. |
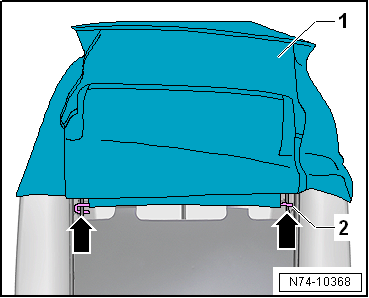
| Only for vehicles with entry assistance |
|
|
|
| – |
Pull backrest cover on backside upwards up to cross bar
-2-. |
| – |
Detach cross bar on left and right from seat frame
-arrows-. |
| – |
Remove trim for locking mechanism
→ Chapter. |
| Continued for all vehicles |
| – |
Thread out backrest cover and backrest padding on head
restraint locking mechanism. |
| – |
Remove backrest cover and backrest padding from backrest. |
| – |
Thread out wiring harness while doing so. |
| Install in reverse order, but note the following: |
| – |
If necessary, install backrest heating element
→ Chapter. |
| – |
Fit backrest cover on backrest padding
→ Chapter. |
| |
→ Chapter „Assembly overview - cover and padding for backrest“ |
| |
→ Chapter „Assembly overview - front seat“ |
| |
→ Chapter „Assembly overview - front backrest“ |
|
|
|
Special tools and workshop equipment
required
Removal wedge -3409
...
Special tools and workshop equipment
required
Upholstery clip pliers -V.A.G 1634
...
© 2016-2026 Copyright www.vwgolf.org

 WARNING
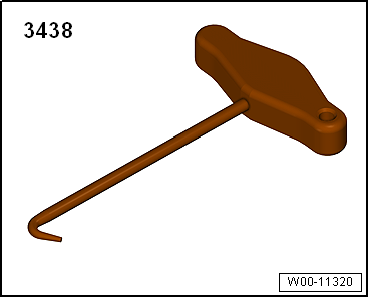
 Removing and installing seat cover and seat padding for seat pan
 Separating seat pan cover from seat pan padding