Volkswagen Golf Service & Repair Manual: Assembly overview - flanging tool
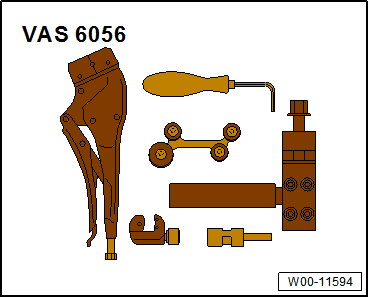
| The flanging tool for brake lines -VAS 6056- can be used to
flange brake lines with an outer pipe diameter of 5 mm without
damaging the coating. In certain cases, this allows sections of
brake lines to be renewed at less expense. |
 Note Note
| Brake lines may only be bent to max. 90°, as they otherwise
kink or display deformations which constrict the cross-section
of the line to an impermissible degree. |
| Preferably separate brake lines at underbody. |
| The positions of the intermediate pieces must be selected so
that they cannot chafe on moving parts. |
| Do not grease spindle; merely clean with methylated spirits. |
| Special tools and workshop equipment
required |
|
|
|
| Flanging tool for brake lines -VAS 6056- |
| Brake filling and bleeding equipment -VAS 5234- |
|
|
|
| List of individual tools: |
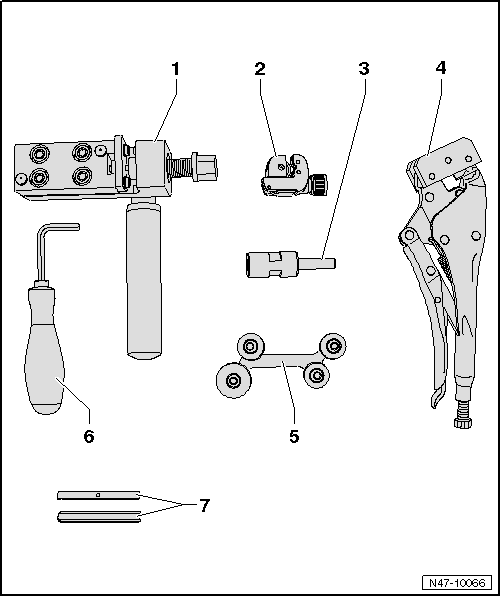
| 1 - |
Flanging tool -VAS 6056/1- |
| Flanging tool -VAS 6056/1- contains flanging jaws -VAS 6056/6- |
| 2 - |
Pipe cutter -VAS 6056/2- |
| 3 - |
Brake line scraper -VAS 6056/3- |
| Grub screws (in shaft and at side) are adjusted and must not be
readjusted! |
| 4 - |
Grip wrench with plastic jaws -VAS 6056/4- |
| 5 - |
Pipe bending tool -VAS 6056/5- |
| 7 - |
Clamp jaws -VAS 6056/6- or clamp jaws -VAS 6056/7- |
| -VAS 6056/6- for black brake lines |
| -VAS 6056/7- for green brake lines |
Note
| The arrow on the rounded side of the flanging jaws must point to the
edge of the housing, and the straight side of the flanging jaws must be
installed towards the spindle, or the flange will not be formed
correctly. |
Unbolt relevant brake line at brake caliper or wheel brake
cylinder; catch escaping brake fluid and dispose of this as per
regulations.
&nb ...
© 2016-2026 Copyright www.vwgolf.org

 Brake lines
 Instructions for use of flanging tool