Volkswagen Golf Service & Repair Manual: Removing and installing thermostat for large cooling circuit
| Special tools and workshop equipment
required |
|
|
|
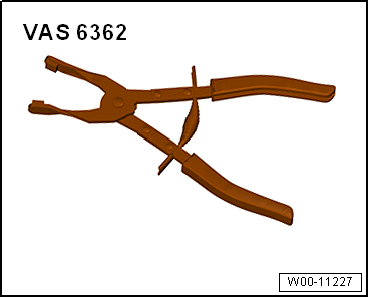
| Hose clip pliers -VAS 6362- |
|
|
|
| – |
Drain coolant
→ Chapter. |
| – |
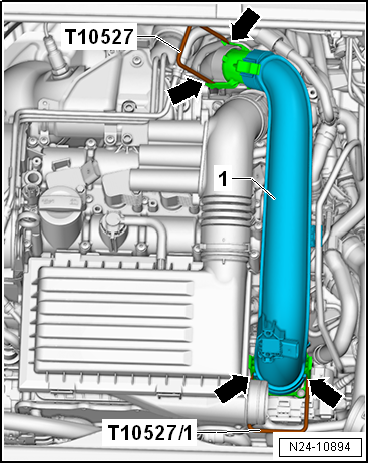
Move air hoses clear at air pipe. |
| – |
Detach connector from charge pressure sender -GX26-. |
|
|
|
| – |
Release fasteners -arrows-
using release tools -T10527- and -T10527/1-. |
|
|
|
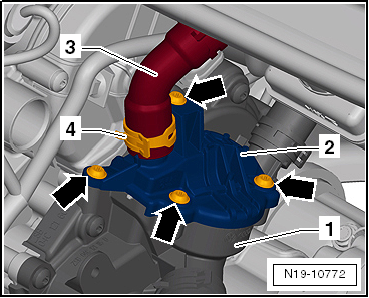
| – |
Release hose clip -4- and
detach coolant hose -3-. |
| – |
Remove bolts -arrows- and
detach cover -2- from thermostat
housing. |
|
|
|
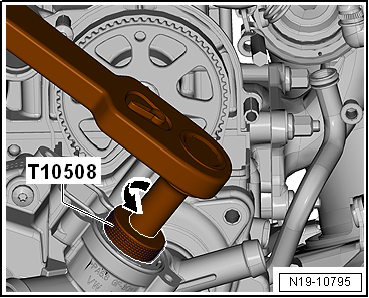
| – |
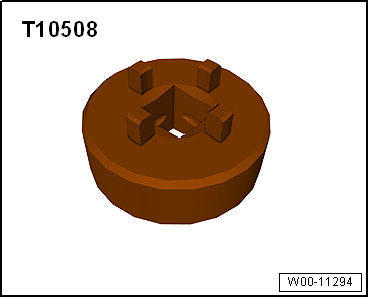
Remove thermostat using special wrench -T10508-. |
| – |
Slightly push down special wrench -T10508- while turning it
in -direction of arrow-. |
|
|
|
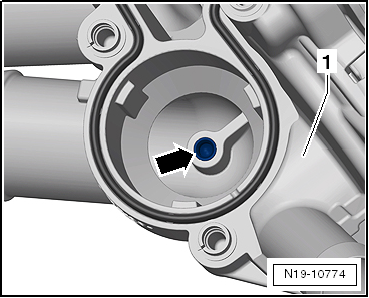
| – |
Insert thermostat ensuring that the centring pin of
thermostat is seated in guide -arrow-. |
|
|
|
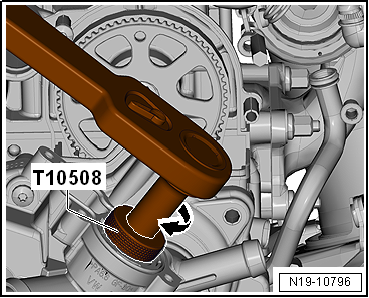
| – |
Install thermostat using special wrench -T10508-. |
| – |
Slightly push down special wrench -T10508- while turning it
to stop in -direction of arrow-. |
| Installation is carried out in the reverse order; note the
following: |
 Note Note
| – |
Moisten gasket with coolant. |
| – |
Replenish coolant
→ Anchor. |
| → Fig. „“Cover for thermostat to thermostat housing - tightening
torque”“ |
|
|
|
Special tools and workshop equipment
required
Counterhold -T10172- with adapter -T10172/2-
...
Removing
–
Remove coolant pump
→ Chapter.
–
Rem ...
© 2016-2026 Copyright www.vwgolf.org

 Removing and installing toothed belt pulley for coolant pump, engine codes
CHPA, CMBA, CPVA, CXSA, CZDA, CZCA, CPVB
Removing and installing toothed belt pulley for coolant pump, engine codes
CHPA, CMBA, CPVA, CXSA, CZDA, CZCA, CPVB Removing and installing thermostat for small cooling circuit