Volkswagen Golf Service & Repair Manual: Removing and installing seat trim on tunnel side
 Note Note
| Removal and installation are described for the left vehicle
side. Follow same instructions for the right side as
appropriate. |
| Special tools and workshop equipment
required |
|
|
|
| |
|
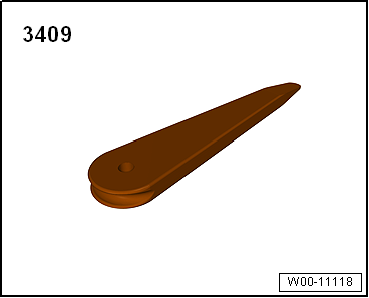
Removal wedge -3409 |
| – |
Remove front seat
→ Chapter. |
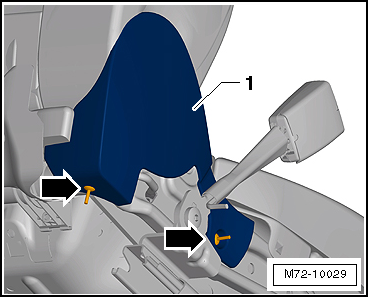
| – |
Remove spreader rivets -arrows-
of trim -1-. |
| – |
To do this, press clamping pins in spreader rivets
-arrows- inwards. |
| – |
Lever off spreader rivets -1-
using removal wedge -3409-. |
|
|
|
| – |
Remove trim -1- from mountings
in seat frame. |
|
|

|
| Install in reverse order, but note the following: |
| – |
Insert spreader rivets -arrows-
and press in clamping pins. |
| |
→ Chapter „Assembly overview - front seat“ |
|
|
|
Special tools and workshop equipment
required
Airbag adapter -VAS 6282-
...
Note
Removal and installation are described for the left vehicle
side. Follow same instructions for the right side as
appropriate.
...
Other materials:
Front camera for driver assist systems
Calibrating front camera for driver assist systems
Note
The following situations can cause the camera function to be
impaired by sustained poor visibility of the lane marker lines:
The field of view of the camera is soiled or i ...
Cleaning leatherette upholstery
First read and observe the introductory information
and safety warnings Please observe the following notes prior to cleaning
the leatherette upholstery .
Only use water and neutral detergents to clean the leatherette upholstery.
NOTICE
Do not use solvents, wax polish, shoe cream, spot ...
Removing and installing seat cover and seat padding for seat pan
Special tools and workshop equipment
required
Removal wedge -3409
Hook -3438-
Note
Removal and installation ...
© 2016-2026 Copyright www.vwgolf.org

 Connecting and disconnecting airbag adapter
 Removing and installing seat trim on sill side, seat of type "ergo Aktiv"