Volkswagen Golf Service & Repair Manual: Removing and installing seat trim on sill side, seat of type "ergo Aktiv"
 Note Note
| Removal and installation are described for the left vehicle
side. Follow same instructions for the right side as
appropriate. |
| Special tools and workshop equipment
required |
|
|
|
| – |
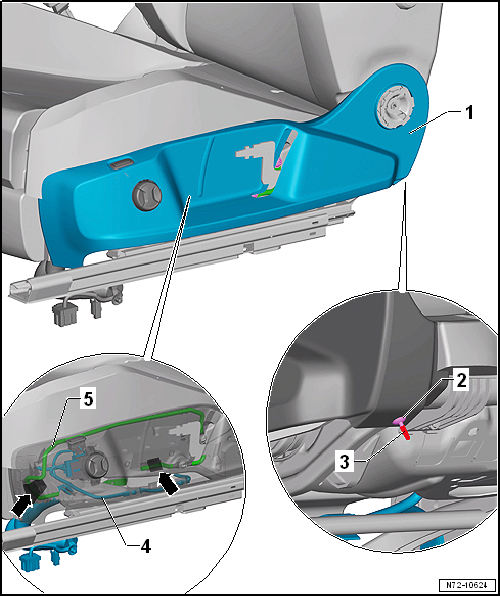
Adjust seat to fully upright position. |
| – |
Remove backrest adjustment
→ Chapter. |
| – |
Remove handle for seat height adjustment
→ Chapter. |
|
|
|
| – |
Press in clamping pin -3-. |
| – |
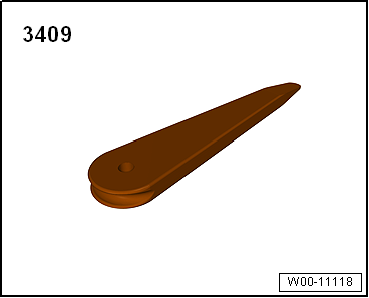
Lever off spreader rivets -2- using
removal wedge -3409-. |
| – |
Open locking mechanism -arrows- on trim
-1-. |
| – |
Remove trim from bracket -5- towards
front. |
| – |
Unclip wiring harness -4- from trim
-1-. |
| – |
Release and pull off connectors on switches. |
| Installation is carried out in reverse order. |
|
Note
Removal and installation are described for the left vehicle
side. Follow same instructions for the right side as
appropriate.
...
Note
Removal and installation are described for the left vehicle
side. Follow same instructions for the right side as
appropriate.
...
Other materials:
Indicator lamps
First read and observe the introductory information
and safety warnings
Lit up
Possible cause
Solution
The vehicle is being held by the electronic parking
brake.
Switch off the Auto Hold function if necessary .
...
2-pack steel filler set
Designation:
2-pack steel filler set -DA 787 300 A2-
Issue 09.2012
Product description
This filler is a polyester filler with a powdered metal
mixture for the creation ...
Removing and installing front vehicle level senders -G78-/-G289-
Special tools and workshop equipment
required
Torque wrench -V.A.G 1410-
Removing
–
Disconnect co ...
© 2016-2025 Copyright www.vwgolf.org

 Removing and installing seat trim on tunnel side
 Removing and installing seat trim on sill side, standard seat