Volkswagen Golf Service & Repair Manual: Removing and installing roof aerial -RX5-
| Special tools and workshop equipment
required |
|
|
|
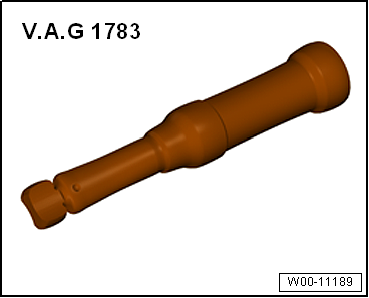
| Torque wrench -V.A.G 1783- |
 Note
| Aerial wirings are directly plugged at the base of roof
aerial -RX5-. |
| – |
Switch off ignition and all electrical consumers, and remove
ignition key. |
| – |
Remove moulded headliner and place it on head restraints
→ General body repairs, interior; Rep. gr.70. |
|
|
|
| – |
Release and unplug connectors -1-
to aerial wires. |
| – |
Remove bolt -3- and remove with
retaining clip. |
| – |
Remove roof aerial -RX5--2-. |
| Install in the reverse order of removal. When doing this,
note the following: |
| – |
Position and press on roof aerial -RX5- until it engages. |
|
|

|
| Component |
Specified torque |
| Bolt -3-
on roof aerial -RX5- |
6 Nm |
Note
Removal and installation of the frequency modulation (FM)
frequency filter in negative wiring -R178- are described for the
right side. Removal and ...
Layout - radio, Composition Touch and
Composition Colour radio version
The radio -R- is installed in the middle of the dash panel.
...
Other materials:
Removing and installing C-pillar trim, estate
Note
Removal and installation are described for the left
vehicle side. Follow same instructions for the right side as
appropriate.
Special tools and workshop equipment
required
...
Test prerequisites
Radiator and condenser must be clean (clean them if
necessary).
The heat insulation on expansion valve is OK and properly
installed. See vehicle-specific repair manual
→ Rep. gr.87.
The poly V ...
Dimensions – “e-Golf” lettering on rear lid
Note
When fitting the lettering, observe the fitting notes
→ Anchor.
1 -
Lettering
Model designation
2 -
Height dimension
75.5 ± 1 mm, from lower edge of lettering to tail light
3& ...
© 2016-2026 Copyright www.vwgolf.org


 Removing and installing frequency modulation (FM) frequency filter
-R178-/-R179-
 Radio