Volkswagen Golf Service & Repair Manual: Removing and installing heater and air conditioning unit
| Special tools and workshop equipment
required |
|
|
|
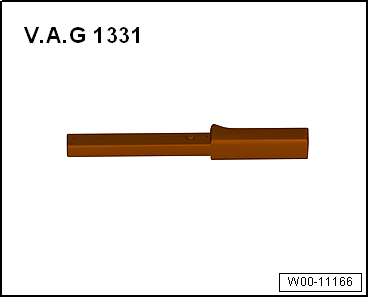
| Torque wrench -V.A.G 1331/- (5…50 Nm) |
|
|
|
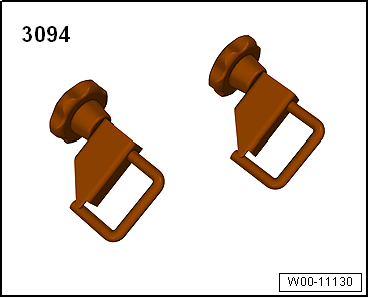
| Hose clamps up to 25 mm -3094- |
|
|
|
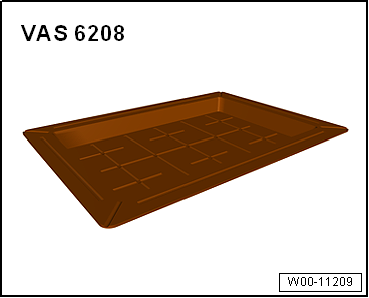
| Drip tray for workshop hoist -VAS 6208- |
|
|
|
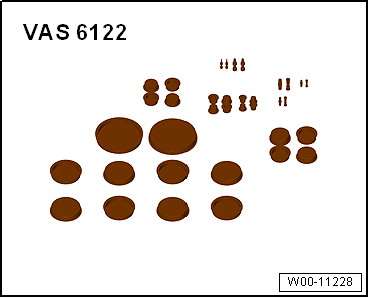
| Engine bung set -VAS 6122- |
| Air conditioner service station |
| Commercially available compressed-air gun |
 Note
| Removal and installation for a left-hand drive vehicle is
described; the procedure for a right-hand drive vehicle is
analogous. |
| Depending on engine version, additional components, e.g. the
engine cover panel or the air filter housing, must be removed to
improve access
→ Rep. gr.10 or
→ Rep. gr.23. |
| – |
Heed the safety precautions
→ Chapter „Safety instructions“. |
| – |
Vehicles with air conditioning system: extract refrigerant,
e.g. with air conditioner service station. Only then open
refrigerant circuit. Comply with notes
→ Chapter. |
| – |
Vehicles with air conditioning system: Disconnect
refrigerant line with internal heat exchanger on expansion valve
→ Chapter. |
|
|
|
| – |
Place drip tray -VAS 6208- beneath engine. |
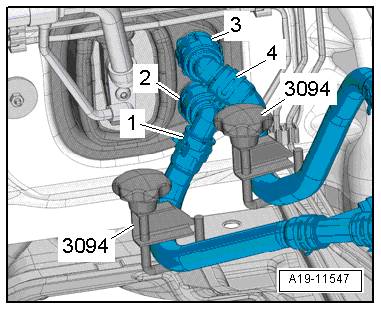
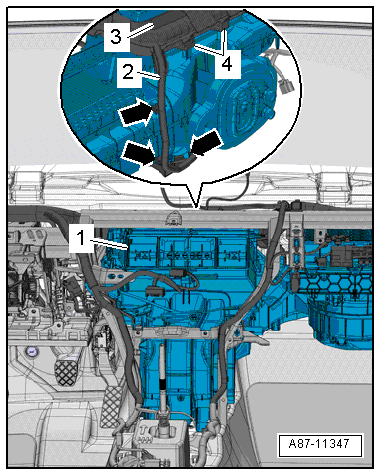
| – |
Mark coolant hoses -1- and
-4-. |
Note
| The heat exchanger is designed for a particular direction of
flow of the coolant. Therefore, the coolant hoses must not be
interchanged when connecting them. |
| – |
Clamp off coolant hoses -1- and
-4- using hose clamps, up to 25 mm
-3094-. |
When the engine is warm, the cooling system is under pressure. Danger of
scalding due to steam and hot coolant. There is a risk of injury to the
skin and parts of the body due to scalding.Always wear safety
gloves.Always wear safety goggles.Proceed as follows to release the
pressure: cover the cap of the coolant expansion tank with a cloth, and
open it carefully.
|
|
|
| – |
Lift retaining clips -2- and
-3-. |
| – |
Disconnect coolant hoses -1-
and -4- from heat exchanger for
heater. |
| – |
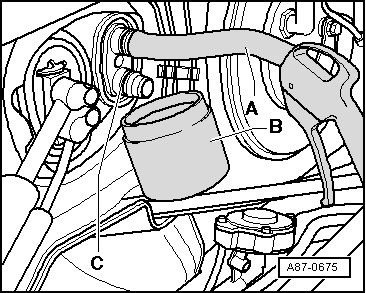
Push a piece of hose -A- onto
upper union. |
| – |
Insert compressed air gun into end of hose. |
| – |
Hold drip tray -B- under
connection -C- and carefully blow
coolant out of heat exchanger using compressed air gun. |
| – |
Seal off open lines and connections with clean plugs from
engine bung set -VAS 6122-. |
Note
| To seal open connections of expansion valve, use, for
example, sealing cover from spare expansion valve. |
| – |
Remove dash panel central tube
→ General body repairs, interior; Rep. gr.70. |
| – |
Remove air duct leading to rear vent (depending on vehicle)
→ Chapter. |
| – |
Lift rear footwell vents under front seats and pull them
towards rear to ease removal of footwell vents from heater and
air conditioning unit. |
| – |
Remove rear footwell vents from heater and air conditioning
unit. |
|
|
|
| – |
Disconnect connector -3- from
fresh air blower control unit -J126-. |
| – |
Pull connector -5- off airbag
control unit -J234- (on tunnel) -2-. |
|
|
|
| – |
Cover floor covering and airbag control unit -J234- in
interior of vehicle with impermeable sheeting and absorbent
paper. |
|
|

|
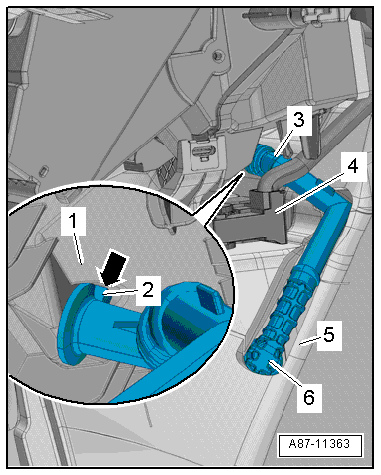
| – |
Carefully pull condensation drain hose
-2- off heater and air conditioning unit
-1-. |
|
|
|
| – |
Pull heater and air conditioning unit
-1- off retainers on plenum chamber bulkhead. |
| – |
Lay wiring harness -2- on
mountings -4- to one side
-arrows-. |
| – |
Remove heater and air conditioning unit to the side. |
| Installation is carried out in the reverse order. When
installing, note the following: |
Note
| The aid of a second mechanic is required to install the
heater and air conditioner unit. |
|
|
|
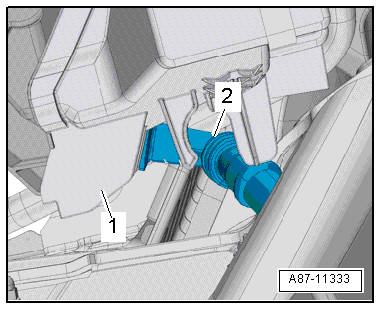
| – |
When installing, ensure that condensation drainage hose
-3- is properly seated. |
| – |
Lug -arrow- on connecting piece
of heater and air conditioning unit -1-
must engage in guide -2-. |
| – |
If a commercially available cable tie was installed to
retain the condensation drain -3-,
then renew it. |
| – |
The condensation drain hose must be routed below the wiring
harness of the airbag control unit -J234--4-
in the figure. |
| – |
Fill with coolant
→ Rep. gr.19. |
| – |
Refilling with refrigerant R134a and refrigerant oil
→ Chapter. |
| – |
As a final step, check operation of the heater/air
conditioner. |
| → Chapter „Assembly overview - heater and air conditioning unit“ |
| → Chapter „System overview - refrigerant circuit“ |
| Dash panel central tube; Assembly overview - dash panel
central tube
→ General body repairs, interior; Rep. gr.70. |
| Engine cover panel
→ Rep. gr.10. |
| Air filter housing
→ Rep. gr.23. |
|
|
|
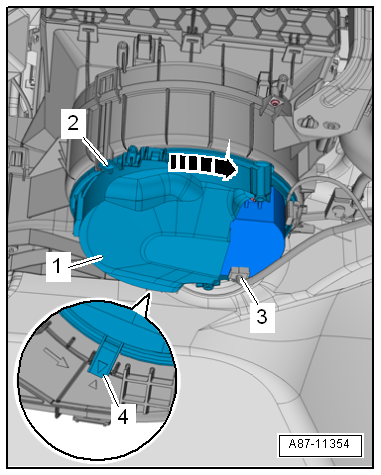
Note
The illustration shows a left-hand drive vehicle.
View from front
Note
-Arrow-&nbs ...
Note
There are different designs and makes of heater and air
conditioning unit. The individual components of the various
heaters and air conditio ...
© 2016-2026 Copyright www.vwgolf.org

 Assembly overview - flaps and partitions in air distribution housing
 Dismantling and assembling heater and air conditioning unit