Volkswagen Golf Service & Repair Manual: Removing and installing headlight range control motor -V48-/-V49-, LED
headlights
| Special tools and workshop equipment
required |
|
|
|
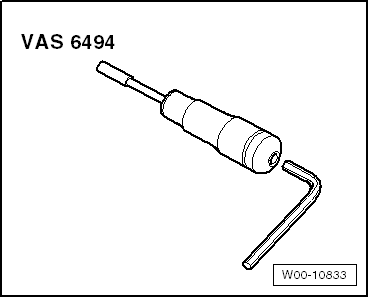
| Torque screwdriver -VAS 6494- |
 Note Note
| Removal and installation are described for the left side.
Removal and installation on the right side are carried out in
the same way. |
| – |
Remove headlight
→ Chapter. |
| – |
Turn height adjustment screws at top of headlight
anticlockwise (towards left) to stop. |
|
|
|
| – |
Pull housing cover -3- off
headlight. |
| – |
Remove height adjuster element -2-
upwards. |
| – |
Pull adjuster shaft located below height adjuster element
out of headlight. |
|
|

|
| Component |
Specified torque |
| Height adjuster element to
headlight |
1.7 Nm |
Note
Removal and installation are described for the left side.
Removal and installation on the right side are carried out in
the same way.
...
Note
Left headlight dipped beam bulb -M29- and right headlight
dipped beam bulb -M31- are only fitted on dual halogen
headlights.
...
Other materials:
Paintwork system for plastic components
Issue 03.2010
This universal system allows simple and reliable painting of
all external plastic components in standard applications.
(Synthetic types: PP, EPDM, ABS, PC, PPO, PBTP, UP-GF, PA, PVC,
R-TPU, PUR). This technical data sheet i ...
Assembly overview - cover and padding for seat pan
1 -
Seat pan
Assembly overview
→ Chapter
2 -
Seat padding
Allocation
→ Electronic Parts Catalogue
Removing and installing seat cover with seat padding
→ Chapter
Separating seat cover fr ...
Tyre sizes for vehicles with four-wheel drive
The following points must be observed for vehicles with
four-wheel drive:
Only tyres of the same make, design and tread pattern may be
fitted to the front and rear axles.
Different tyre rolling circumferences ...
© 2016-2026 Copyright www.vwgolf.org

 Caution
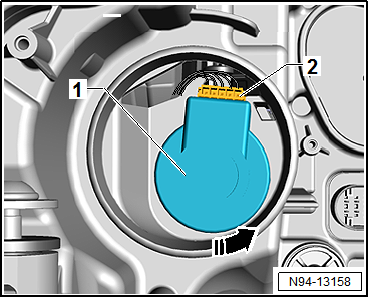
 Removing and installing headlight range control motor -V48-/-V49- (gas
discharge headlights)
Removing and installing headlight range control motor -V48-/-V49- (gas
discharge headlights) Removing and installing headlight dipped beam bulb (dual halogen headlights)