Volkswagen Golf Service & Repair Manual: Removing and installing eyelet for net partition
| Special tools and workshop equipment
required |
|
|
|
| |
|
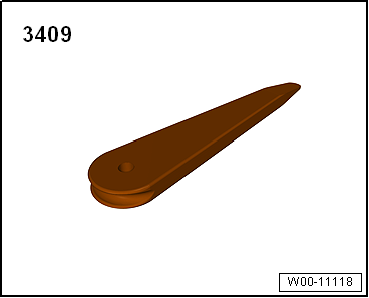
Removal wedge -3409- |
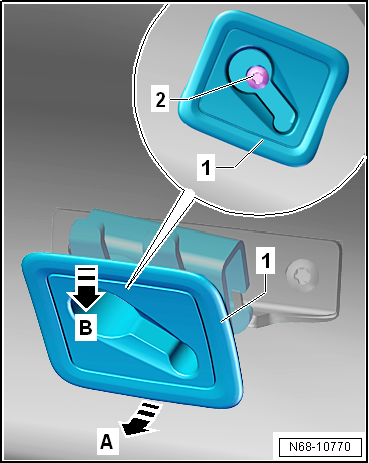
| Eyelet for net partition, without rear reading light |
 Note
| Removal and installation is described for the rear left
eyelet for net partition. Follow same instructions for the
remaining eyelets for net partition as appropriate. |
| – |
Release trim -1- with eyelet
for net partition at bottom from moulded headliner using removal
wedge -3409--arrow A-. |
| – |
Then, slightly guide trim -1-
with eyelet for net partition downwards out of moulded headliner
-arrow B-. |
| – |
After that, guide eyelet for net partition with trim upwards
out of moulded headliner, and remove it. |
Note
| On vehicles with sliding sunroof, the retaining lugs on
the rear trims -1- are reverted by
180°. The removal and installation procedure for these eyelets
for net partition must be adapted accordingly. |
|
|
|
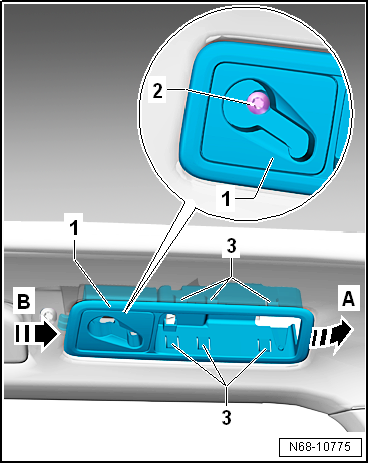
| Eyelet for net partition, with rear reading light |
Note
| Removal and installation is described for the left eyelet
for net partition. Follow same instructions for the right eyelet
for net partition as appropriate. |
| – |
Remove rear left reading light -W11-
→ Electrical system; Rep. gr.96. |
| – |
Release retaining lugs -3- on
trim -1-, and release trim from
moulded headliner using removal wedge -3409--arrow
A-. |
| – |
Then, slightly guide trim -1-
with eyelet for net partition towards front out of moulded
headliner -arrow B-. |
|
|
|
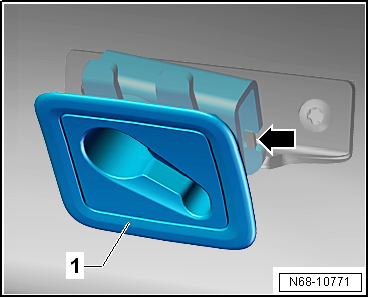
| Install in reverse order, but note the following: |
Note
| Ensure that the locating lug -arrow-
on the bracket for net partition is properly seated in the
recess in the eyelet for net partition -1-. |
| |
→ Chapter „Assembly overview- net partition“ |
|
|
|
Removing
–
Remove luggage compartment side trim
→ Chapter.
–
Pull belt webbing aside, a ...
Note
Removal and installation is described for the sun visor
on driver side. Follow same instructions for the front passenger
side as appropriate.
...
© 2016-2026 Copyright www.vwgolf.org

 Removing and installing bracket for net partition
 Removing and installing sun visor