Volkswagen Golf Service & Repair Manual: Removing and installing cigarette lighter socket
 Note Note
| The removal and installation procedure is the same for all
sockets and is therefore described here only for the cigarette
lighter socket. |
 Caution
| If excessive force is exerted on sockets without
illumination, the retaining sleeve may be damaged. |
| Only illuminated sockets (cigarette lighter) can be
removed with the puller T 40148. |
| The puller does not manage to release the locking
lugs of sockets without illuminated retaining sleeve. |
| Usually sockets without illumination cannot be
removed without being damaged. |
|
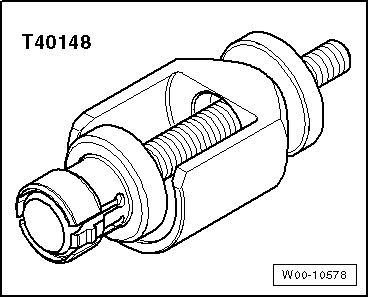
| Special tools and workshop equipment
required |
|
|
|
| – |
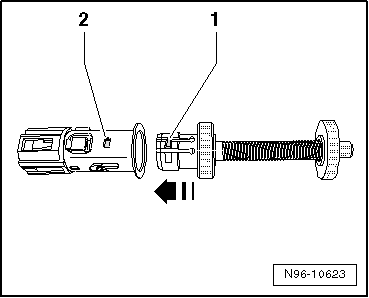
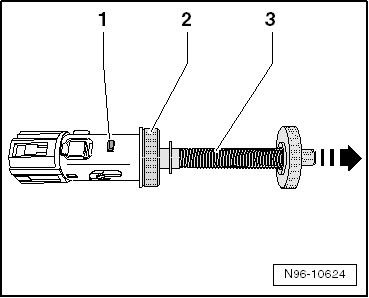
Push puller -arrow- into socket
so that locking lugs -1- engage in
recesses -2-. |
|
|
|
| – |
Pull grip -3- in direction of
-arrow- to release locking lugs of
retaining sleeve. |
| – |
Pull socket out of retaining sleeve using puller. |
 Caution
| The socket wiring can be damaged. |
| Take care not to stretch the wiring when pulling out
the socket. |
|
|
|
|
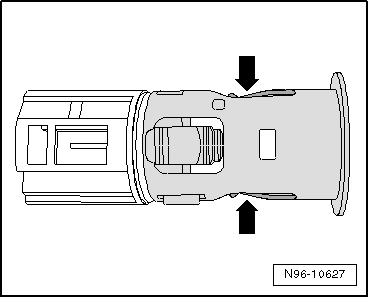
| – |
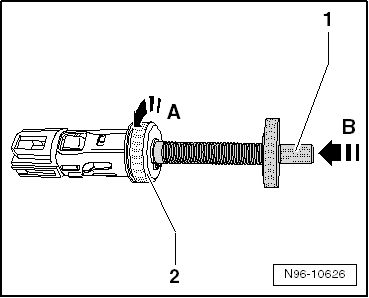
Carefully press socket retaining springs together
-arrows-. |
| – |
Check if cigarette lighter remains in removal position after
heating phase and ensure it is not ejected in vehicle interior. |
| Install in reverse order of removal. |
|
|
|
Caution
If excessive force is exerted on sockets without
illumination, the retaining sleeve may be damaged.
...
Note
On some vehicles, the illumination is not provided by a
light bulb, but by an LED (light-emitting diode), depending on
the equipment level. ...
Other materials:
Removing and installing control unit and hydraulic unit, RHD vehicles
Special tools and workshop equipment required
Torque wrench -V.A.G 1331-
Torque wrench -V.A.G 1410-
Brake pedal depressor -V.A.G 1869/2-
Sealing plugs, assemb ...
Perform service test
Note
The print-out may vary depending on software version.
Observe the
→ operating manual of the battery tester with printerVAS 6161.
WARNING
...
Gaskets, seals
After removing gaskets and seals, always inspect contact
surface of housing or shaft for burrs resulting from removal or
for other signs of damage.
Before installing seals, lightly oil outer diameter and
half-fill space between sea ...
© 2016-2026 Copyright www.vwgolf.org

 Note
Note Note
Note Note
Note Note
Note Assembly overview
 Removing and installing cigarette lighter illumination bulb -L28-
 Caution