Volkswagen Golf Service & Repair Manual: Removing and installing A-pillar gap cover
 Note Note
| Removal and installation are described for the left
vehicle side. Follow same instructions for the right side as
appropriate. |
| Special tools and workshop equipment
required |
|
|
|
| |
|
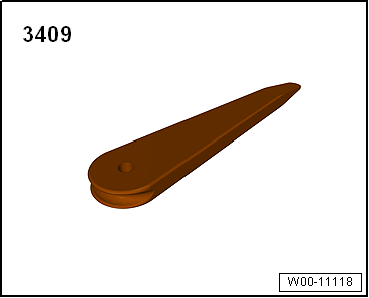
Removal wedge -3409 |
| – |
Remove side dash panel cover
→ Chapter. |
| – |
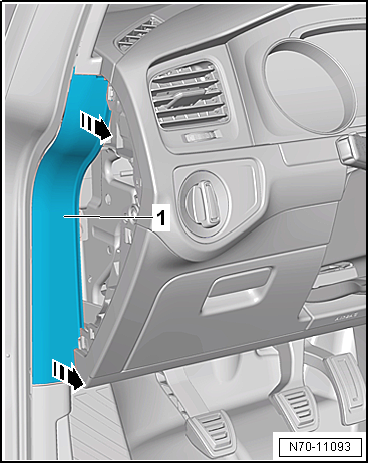
Unclip A-pillar gap cover -1-
from upper A-pillar trim and lower A-pillar trim
-arrows-. |
| – |
Release A-pillar gap cover -1-
from door seal beading and remove it. |
Note
| Following installation, ensure that the A-pillar gap
cover is positioned in door seal beading. |
| Installation is carried out in reverse order. |
|
|
|
Note
Removal and installation are described for the left vehicle
side. Follow same instructions for the right side as
appropriate.
...
Special tools and workshop equipment
required
Removal wedge -3409
...
Other materials:
Removing and installing door
Special tools and workshop equipment
required
Door alignment tool -3320-
Universal joint for 3320 -3320/1-
Bit for 3320 -3320/2-
...
Purging electrical air conditioner compressor
Vehicles with high-voltage system
Observe the additional warning instructions for working on
vehicles with high-voltage system
→ Electrical system; Rep. gr.93.
WARNING
...
Assembly overview - luggage compartment side trim, saloon
Note
The illustration shows the luggage compartment side trim on the
left side. The right-hand side is similar (mirror image of left-hand
side).
1 -
Luggage compartment side trim
Removing and installing
→ Chapter
...
© 2016-2026 Copyright www.vwgolf.org

 Removing and installing sill panel moulding, 4-door model
 Removing and installing A-pillar trim