Volkswagen Golf Service & Repair Manual: Charging battery with battery charger -VAS 5095 A-
 WARNING
| Danger of injury! Observe warning notices and safety
regulations
→ Chapter! |
|
| Special tools and workshop equipment
required |
|
|
|
The battery charger -VAS 5095- is suitable for charging all
12V batteries supplied by Volkswagen.
The battery charger charges without peaks in ampera ...
WARNING
Danger of injury! Observe warning notices and safety
regulations
→ Chapter!
...
Other materials:
Removing and installing catalytic converter
Note
The catalytic converter is removed together with the front
exhaust pipe.
Special tools and workshop equipment
required
High-temperature paste
→ Electronic Parts Catalogue.
...
Removing and installing emblem with model designation, “R”
Special tools and workshop equipment
required
Torque wrench -V.A.G 1783-
Note
Only remove when radiator grille -3- is
removed.
Removing
...
Using a child seat on the rear seats
First read and observe the introductory information
and safety warnings When fitting a child seat to a rear seat, the position
of the front seat must be adjusted to ensure that the child has sufficient space.
Adjust the front seat according to the size of the child seat and child. Ensure
t ...
© 2016-2026 Copyright www.vwgolf.org


 Note
Note Caution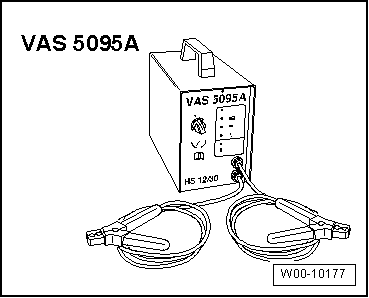
 Description of battery charger -VAS 5095 A-
 Charging totally discharged battery with battery charger -VAS 5095 A-