Volkswagen Golf Service & Repair Manual: Cavity sealing, body at front and centre
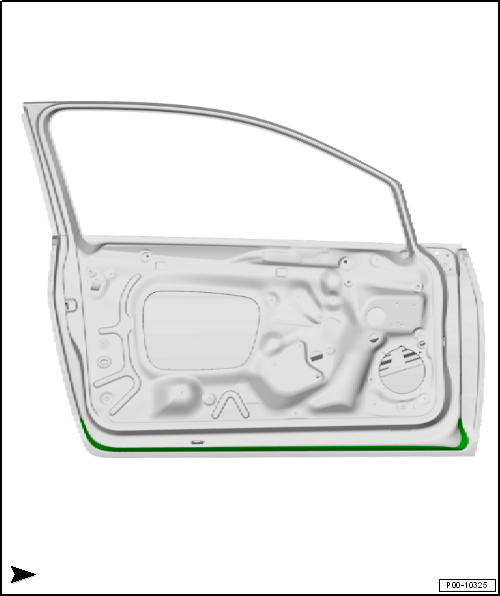
| Cavity sealing, door of 2-door |
| Illustration shows left side. The right side is the mirror image. |
 Note
Note| The indicated areas have been treated with cavity sealant and must be resealed following repairs. |
| Cavity sealing, doors of 4-door |
| Illustration shows left side. The right side is the mirror image. |
Note| The indicated areas have been treated with cavity sealant and must be resealed following repairs. |
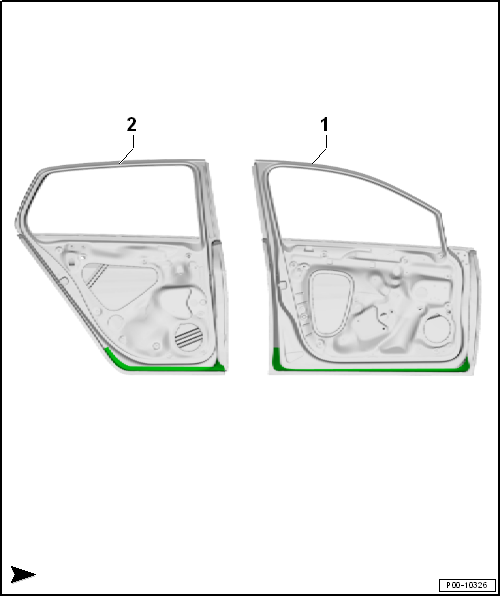
| 1 - | Front door |
| 2 - | Rear door |
 Cavity sealing, overview of body
Cavity sealing, bottom view of body
Note
The indicated areas have been treated with cavity sealant and must
be resealed following repairs.
& ...
 Cavity sealing, rear body
Cavity sealing, wheel housing and underbody at rear, 4-Motion
vehicles
Illustration shows left side. The right side is the mirror image.
Note
The indica ...
Other materials:
Assembly overview - wheel housing trim, estate
Note
The illustration shows the wheel housing trim on the left side.
The right-hand side is similar (mirror image of left-hand side).
I: Vehicles without side padding
II: Vehicles with side padding
1 -
Wheel housing tri ...
Assembly overview - foot rest and floor covering, RHD vehicles
1 -
Foot rest
Removing and installing
→ Chapter
2 -
Bolt
2 Nm
3 -
Nut
Qty. 3
2 Nm
4 -
Bracket
Removing and installing
→ Chapt ...
Removing and installing TV tuner, eGolf
Special tools and workshop equipment
required
Protective cap for wiring harness connector -VAS 6223/9-
If the control unit is replaced, select the
Replace function of the resp ...
