Volkswagen Golf Service & Repair Manual: Aquaplus system (pearlescent and heliochrome)
| Pearlescent waterborne base coat -LPW 040 ...- |
| Heliochrome waterborne base coat -LHW 046 ...- |
| Pearlescent waterborne mixing paint -LWM 076 ...- |
| The Aquaplus system is a high-grade waterborne base coat
system based on special PU dispersions. |
| The base coat can be used for two-stage pearlescent or
heliochrome finishes on passenger cars and commercial vehicles. |
| Recoatable with 2-pack HS clear coat |

Note
| After overspraying with 2-pack HS clear coat, it produces a
high-gloss, weather-resistant finish. |
| Surfaces coated with primer or surfacer (2-pack HS surfacer) |
| Substrates isolated with 1-pack wash primer -LVM 044 007
A2-/-LVM 044 171 A2- |
| For plastic surfaces, substrates isolated with 2-pack primer
surfacer for plastics -LKF 696 009 A2-/-LKF 696 040 A2- |
| See special notes
→ Anchor |
|
|
|
| – |
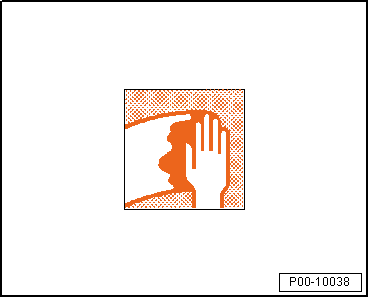
Thoroughly clean factory paint, old paint or 2-pack HS
surfacer with silicone remover -LVM 020 000 A5- or slow-drying
silicone remover -LVM 020 100 A5-. |
|
|
|
| – |
Dry sand using orbital sander with P400 to P500-grain
sandpaper and dust collector. |
|
|

|
| – |
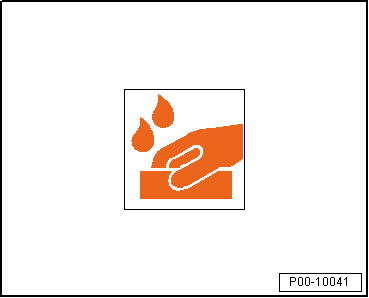
Or lightly “wet” sand using P800 to P1000-grain sandpaper. |
|
|
|
| – |
Before recoating, use a suitable cleaning agent to ensure a
clean surface free of residues. |
| – |
Wipe off any excess silicone remover with a lint-free cloth,
leaving no streaks. |
| Areas sanded to bare metal must be isolated with 1-pack wash
primer -LVM 044 007 A2-/-LVM 044 171 A2-. Bare metal spots must
not be larger than 5.0 cm in diameter. |
| If 2-pack HS surfacer is used, bare metal spots must be
isolated with 2-pack wash primer -LHV 043 000 A2- or 1-pack wash
primer -LVM 044 007 A2-/-LVM 044 171 A2-. |
| Plastic containers or tinplate containers with inner coating |
| Waterborne base coats are to be filtered through waterproof
125 μm quick sieves before application by means of cup systems |
| Aquaplus demineralised water -LVW 010 000 A5- (according to
ISO 3696) |
| Use Aquaplus measuring stick. |
| At higher temperatures (>+25°) and high relative humidity
(>60%), adding 0-5% demineralised water -LVW 010 000 A5- is
sufficient. |
| A special base coat (application of solid-colour waterborne
base coat) is necessary for three-stage pearlescent colours. The
respective hue must be determined from the formula information
systems. |
| Pearlescent waterborne base coat is applied for pearlescent
finishes. |
|
|

|
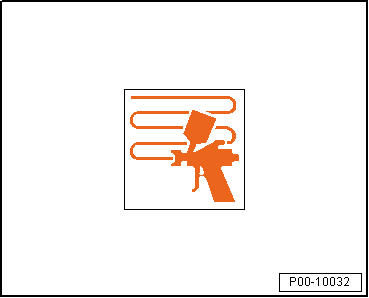
| Method of application: “spray”. |
|
|
|
| – |
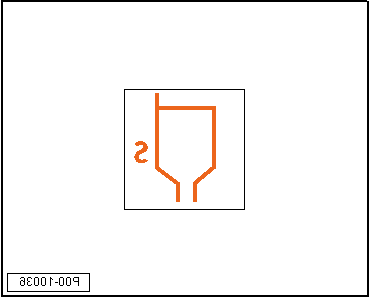
The application viscosity at +20 °C is the “compliant” and
“HVLP” mixing viscosity. |
|
|
|
| – |
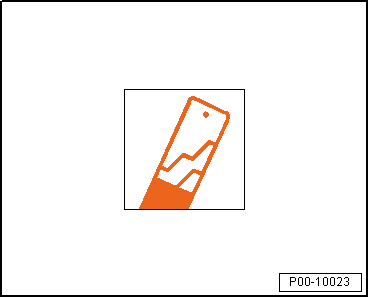
Add 10% thinner at +20 °C material temperature. |
|
|
|
| – |
Adjust spray nozzle following manufacturer's instructions to
1.2-1.3 mm for “compliancy”. |
| – |
Adjust spray nozzle following manufacturer's instructions to
1.3 mm for “HVLP”. |
| – |
Adjust spray pressure following manufacturer's instructions
to 2.0-2.5 bar for “compliancy”. |
| – |
Adjust atomising pressure following manufacturer's
instructions to 0.7 bar for “HVLP”. |
|
|
|
| – |
One spray operation includes a tack coat followed by a full
coat. A “finish coat” is recommended for special-effect colours. |

Note
| If the paint hue does not hide well, it may be necessary to
apply additional spray coats after an appropriate flash-off
time. |
| The total film thickness (including the solid-colour
waterborne base coat) must not exceed 45 µm. |
|
|

|
| The flash-off time for clear coat application is 20 minutes
at +20 °C. |
| Ways to reduce flash-off times for small areas: |
| Surface matting can be accelerated by blowing on it with an
air diffuser (hand-held or stationary device). |
| It is also possible to blow on it with the spray gun after
waiting at least 5 minutes. |
| Ways to reduce flash-off times for large areas: |
| Surface matting can be accelerated by using stationary air
diffusing units (e.g. ceiling system), infrared drying or low
baking. |
| Ceiling system: 10-15 minutes |
| Infrared drying: 3-5 minutes |
| Cooling time at least 5 minutes |
|
|
|
| Combination booth: at least 10 minutes including heat-up
time |
| Low-bake oven: at least 5 minutes |
| Cooling time at least 5 minutes |

Note
| The specified flash-off and drying times depend on the
temperature, humidity, air drop speed in the spray booth and the
number of coats applied. The surface must, however, first appear
completely matt. |
|
|
|
| 2-pack HS clear coat from the Volkswagen Genuine paint
programme |

Note
| The decision to use two or three coats (with a special
undercoat) depends on the factory finish. |
| The respective undercoat colour is stated in the formula
information systems. |
| Blending system (for achieving a perfect colour transition
from repair to adjacent areas) |
| – |
Sand surfaced areas (dry with P400 to P500-grade paper or
wet with P800 to P1000-grade waterproof paper). |
| – |
Thoroughly but lightly sand the adjacent areas to which no
surfacer was applied with a fine emery pad. |
| – |
Thoroughly clean the whole surface with silicone remover
-LVM 020 000 A5- to remove any dust, paint residue from sanding
or any other impurities. |
| – |
Wipe off any excess silicone remover with a lint-free cloth,
leaving no streaks. |
| – |
Allow the moisture on substrates which have been wet-sanded
or cleaned to evaporate completely. |
| Two-stage pearlescent and heliochrome colours: |
| – |
Spray the area on which the surfacer was applied with mixed
pearlescent or heliochrome waterborne base coat at spray
viscosity so that it forms an opaque film. |
| – |
Extend the area of application of each subsequent coat
through a process of overlapping so that only a fade-out area
remains. |
| – |
Extend this fade out area and blend in, spraying with
reduced pressure. |
| – |
After an appropriate final flash-off time, 2-pack HS clear
coat can be applied. |
| Three-stage pearlescent colours: |
| – |
Blend in the area on which the surfacer was applied with the
mixed solid-colour waterborne base coat (see base coat colour
application) using reduced pressure. |
| – |
Spray the same area with the mixed pearlescent waterborne
base coat, overlapping slightly and at reduced pressure to match
the original finish. |
| – |
Blow dry with the spray gun after each coat. |
| Spraying equipment must be suitable for applying water-based
products; manufacturers' instructions must be followed. |
| The mixing colours in this top coat series can be used only
as part of a colour formula. If any mixing colour is applied
alone, the results may differ substantially from the description
in this technical data sheet. |
| Rinse with Aquaplus demineralised water -LVW 010 000 A5-
before and after use. Then wash out with nitrocellulose thinner
-LVE 856 000 A3-. |
| Collect liquid water-based waste separately from
conventional liquid waste. If the two are mixed, it may be
impossible to dispose of the mixture, or at best difficult, and
therefore expensive. |
|
|

|
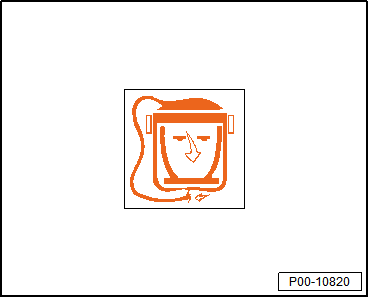
| Personal protective equipment: |
| Adhere to the safety data sheet. |
| Wear personal protective equipment during application. |
|
|
|
| Flash point: |
Above +23 °C |
| VOC content:
2004/42/IIB(d)(420)420 |
The EU limit value for this
product (product category IIB.b) in ready-to-spray form is max. 420 g/l
of volatile organic compounds. The VOC content of this product in
ready-to-spray form is max. 420 g/l. |
| Guaranteed storage time of the individual products is |
| Pearlescent waterborne mixing paint -LWM 076 ...- 24 months
from production date. |
| Pearlescent waterborne base coat -LPW 040 ...- 18-24 months
from production date. |
| Heliochrome waterborne base coat -LHW 046 ...- 18 months
from production date. |
| All products may be used until the date stated on the label
at latest if stored in sealed original containers at +20 °C. |
|
|
|
| The optimal storage temperature is +20 °C. (Do not store at
temperatures below +5 °C.) |
| The preferred storage temperature range is +15 °C to +25 °C. |
| Short-term storage (approx. 4 weeks) between +5 °C and
+35 °C is possible. |
|
|
|
Designation:
Uni (solid-colour) waterborne mixing paint -LWM 075 ...-
Metallic waterborne mixing paint -LWM 076 ...-
...
Designation:
Blending additive for Aquaplus -LVM 030 000 A2-
Issued 06/2011
Product description
...
Other materials:
Tyre sealant disposal
Tyre sealant or residue must not be mixed or disposed of
with other fluids.
Excess tyre sealant must be collected and stored in a
plastic container. The plastic container can be disposed of
through the disposal system along with th ...
Checking securing parts and anchorage points after an accident
Latch plate deformed (stretched)
Height adjustment does not function.
Anchorage points (seat, pillars, underbody) distorted or
thread damaged
If damage is determine ...
Vehicles with torsion beam axle
The connecting pipe can be cut through at the cutting point
in order to renew the centre and rear silencers separately.
Cutting point is marked by an indentation on circumference
of exhaust pipe.
Special tools and ...
© 2016-2026 Copyright www.vwgolf.org

 Note
Note Note
Note Note
Note
 Note
Note Aquaplus system, uni (solid-colour) and metallic colours
 Aquaplus blending system


