Volkswagen Golf Service & Repair Manual: Adjusting headlight installation position
| Special tools and workshop equipment
required |
|
|
|
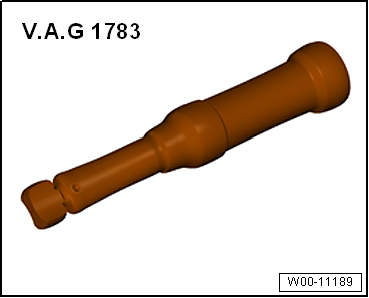
| Torque wrench -V.A.G 1783- |
|
|
|
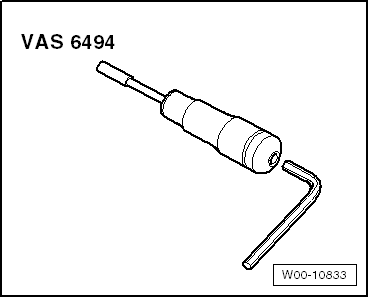
| Torque screwdriver -VAS 6494- |
|
|
|
| – |
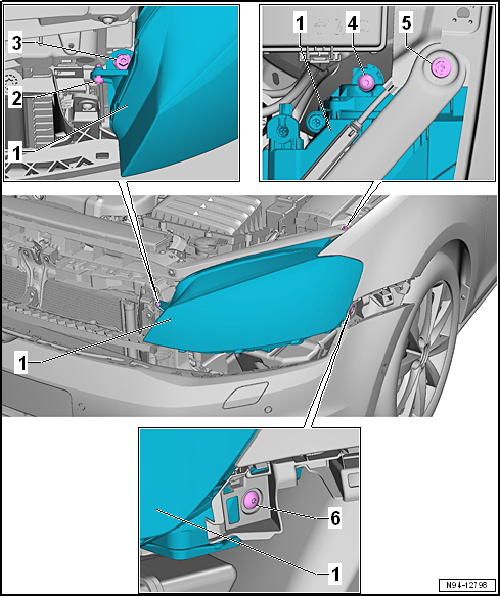
Loosen bolts -3-,
-4-, -5- and
-6-. |
| – |
Ensure uniform gap between headlight -1-
and wing. |
| – |
Tighten bolts -5- and
-6-. |
| – |
Adjust banjo bolt of bolt -3- and stop
bolt -2- to ensure gaps are even all round. |
| – |
Tighten bolt -3- inside banjo bolt. |
| – |
Check headlight setting and adjust headlight if necessary
→ Booklet36.1 |
| → Chapter „Assembly overview - headlight“ |
Special tools and workshop equipment
required
Torque wrench -V.A.G 1783-
...
Note
Removal and installation are described for the left side.
Removal and installation on the right side are carried out in
the same way.
...
Other materials:
Removing and installing control unit and hydraulic unit, LHD
Special tools and workshop equipment required
Torque wrench -V.A.G 1331-
Torque wrench -V.A.G 1410-
Brake pedal depressor -V.A.G 1869/2-
Sealing plugs, assemb ...
Cross section of a radial belted tyre
1 -
Tread block
2 -
Tread groove
3 -
Tread
4 -
Nylon ply
5 -
Belt layers
Usually made of steel
6 -
Bead core
...
Centre armrest
Fig. 51 Front centre armrest
Fig. 52 Folding down the rear centre armrest
First read and observe the introductory information
and safety warnings Adjusting the front centre armrest
To lift, push the centre armrest up gradually in the direction of arrow
.
To lower, pull the centre ar ...
© 2016-2026 Copyright www.vwgolf.org

 Removing and installing headlight
 Removing and installing front turn signal bulb -M5-/-M7-, dual halogen
headlights
Removing and installing front turn signal bulb -M5-/-M7-, dual halogen
headlights