Volkswagen Golf Service & Repair Manual: Temporary spare wheels
| Notes on temporary spare wheels |
| Inform your customers about the following notes and, if
appropriate, refer also to the user's manual of the vehicle as
the need arises. |
|
|
|
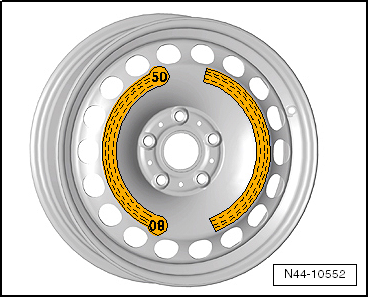
| The following notes also apply to spare wheels marked with a
yellow sticker with the text “MAX 80 km/h” or “MAX 50 mph” |
 Note Note
| Depending on the vehicle equipment cars have a spare wheel
with the sticker described above instead of a temporary spare
wheel. |
| The spare wheel or temporary spare wheel is intended only
for temporary use over short distances. Therefore, it must be
replaced by a normal wheel as quickly as possible. |
| After the temporary or spare wheel has been fitted, the tyre
pressure must be checked as soon as possible. |
| Tyre pressure information is located on the tyre pressure
plate on the inside of the tank flap or on the driver side
B-pillar. |
| Always observe the speed warning on the temporary spare
wheel (“MAX 80 km/h” or “MAX 50 mph”). |
| Full acceleration, hard braking and driving fast through
curves should be avoided. |
| The use of snow chains on the temporary spare wheel is not
permitted for technical reasons. |
| If it is necessary to travel with snow chains, the temporary
spare wheel must be fitted on the rear axle even if the front
tyre has been damaged. The now available rear wheel must then be
fitted in place of the defective front wheel. |
| Refer to
→ Electronic parts catalogue “ETKA” for replacement
part numbers. |
|
|
|
Assembly and use of snow chains
Snow chains must be fitted to driven wheels only.
On all-wheel drive vehicles, however, only the fro ...
© 2016-2026 Copyright www.vwgolf.org

 Snow chains