Volkswagen Golf Service & Repair Manual: Removing and installing lumbar support adjustment
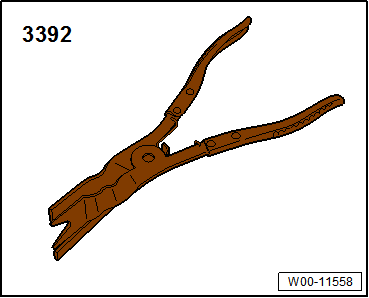
| Special tools and workshop equipment
required |
|
|
|
 Note Note
| Removal and installation are described for the left
vehicle side. Follow same instructions for the right side as
appropriate. |
|
|
|
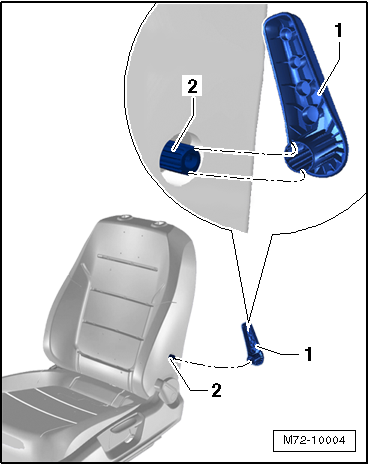
| – |
Pull lumbar support adjusting lever
-1- off shaft -2- using
removing pliers -3392-. |
|
|
|
| Install in reverse order, but note the following: |
| – |
Ensure that teeth on lumbar adjusting lever
-1- align with shaft splines
-2-. |
| – |
Pull on lever to ensure it is firmly seated. |
| – |
If adjusting lever is too loose following assembly, it must
be renewed. |
| |
→ Chapter „Assembly overview - front backrest“ |
|
|
|
Removing
–
If possible, move front seat to highest position to reduce
as much tension on torsion rod as possible.
...
Removing
Note
The head restraints can be renewed with front seat installed.
The ...
© 2016-2026 Copyright www.vwgolf.org

 Removing and installing lower seat pan frame with seat longitudinal
adjustment motor -V28-/-V31-
Removing and installing lower seat pan frame with seat longitudinal
adjustment motor -V28-/-V31- Removing and installing head restraint