Volkswagen Golf Service & Repair Manual: Removing and installing floor covering
| – |
Remove front seats
→ Chapter. |
| – |
Remove rear bench seat
→ Chapter. |
| – |
Remove sill panel mouldings
→ Chapter. |
| – |
Remove lower A-pillar trims
→ Chapter. |
| – |
Remove front belt end fittings
→ Chapter. |
| – |
Remove centre console
→ Chapter. |
| – |
Remove foot rest
→ Chapter. |
| – |
If fitted, remove rear air duct
→ Heating, air conditioning; Rep. gr.87. |
|
|
|
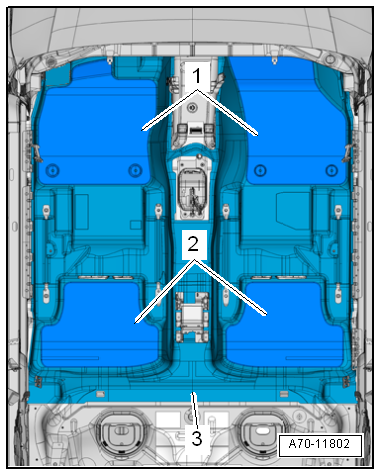
| – |
Remove floor mats -1 and 2-. |
| – |
Lift floor covering -3- at rear
and pull it towards rear. |
 Caution
| Ensure that the floor covering is not torn in the
area of the cut-outs. |
|
| – |
Fold floor covering together and remove it through front
door. |
| Installation is carried out in reverse order. |
|
|
|
Note
Removal and installation are described for the left
vehicle side. Follow same instructions for the right side as
appropriate.
...
Other materials:
Removing and installing B-pillar trim on rear door
Note
Removal and installation are described only for the left side.
Removal and installation of the right side are similar.
Removing
–
Run door window down to bottom position.
–
Pull window channel -3- in area ...
Snow chains
Assembly and use of snow chains
Snow chains must be fitted to driven wheels only.
On all-wheel drive vehicles, however, only the front wheels
may be fitted with snow chains.
It is not possible to use sno ...
Removing and installing brake caliper
Special tools and workshop equipment
required
Torque wrench -V.A.G 1331-
Brake pedal depressor -V.A.G 1869/2-
& ...
© 2016-2026 Copyright www.vwgolf.org

 Removing and installing wheel housing trim, estate