Volkswagen Golf Service & Repair Manual: Removing and installing dash panel cover on driver side
| Special tools and workshop equipment
required |
|
|
|
| |
|

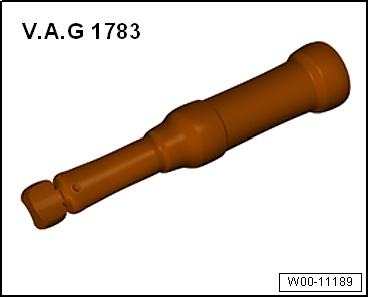
Torque wrench -V.A.G 1783- |
| – |
Remove dash panel end cover on driver side
→ Chapter. |
| – |
Remove driver side footwell cover
→ Chapter. |
| – |
Remove centre console cover on driver side
→ Chapter. |
| – |
Remove storage compartment on driver side
→ Chapter. |

| – |
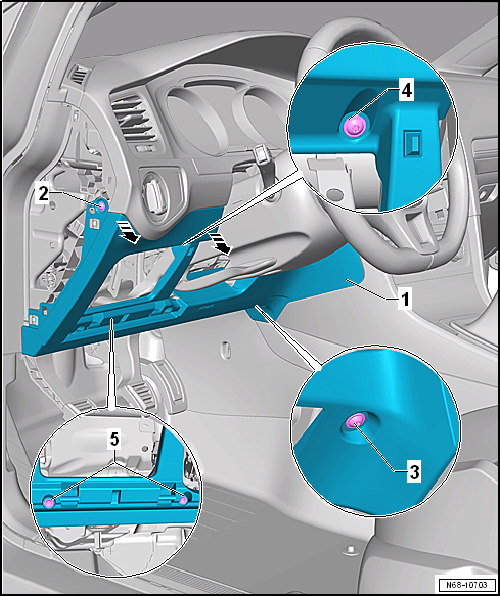
Unscrew bolt -2- at side. |
| – |
Unscrew bolt -3- at bottom. |
| – |
Remove bolts -4- and
-5- |
| – |
Unclip dash panel cover on driver side -1-
from dash panel -arrows- and remove it. |
 Note Note
| Before installing, check all fasteners for damage and renew
if necessary. |
| Installation is carried out in reverse order. |
| |
→ Chapter „Assembly overview - driver side dash panel cover“ |
|
|
|
Removing
–
Open driver side storage compartment -1-
in -direction of arrow-.
–
Release driver side storage compartment -1-
from u ...
Special tools and workshop equipment
required
Removal wedge -3409-
...
Other materials:
Changing gear using Tiptronic
Fig. 138 Selector lever in Tiptronic position
(left-hand drive). The controls are mirrored for right-hand drive vehicles
Fig. 139 Steering wheel with two paddles
for Tiptronic
First read and observe the introductory information
and safety warnings Using Tiptronic, the gears can be shifte ...
Fixing position of subframe, multi-link suspension, front-wheel drive, Golf
GTE
Special tools and workshop equipment
required
Locating pins -T10096-
Engine and gearbox jack -VAS 6931-
I ...
Automatic brake intervention
First read and observe the introductory information
and safety warnings The park assist system helps the driver by braking automatically.
The automatic braking does not replace the driver's responsibility for the accelerator,
brake and clutch .
A parking manoeuvre will be interrupte ...
© 2016-2026 Copyright www.vwgolf.org


 Note
Note Removing and installing driver side storage compartment
 Removing and installing dash panel insert trim
