Volkswagen Golf Service & Repair Manual: Removing and installing circulation pump -V55-
| Special tools and workshop equipment
required |
|
|
|
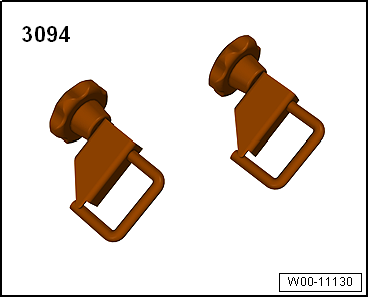
| Hose clamps, up to 25 mm -3094- |
|
|
|
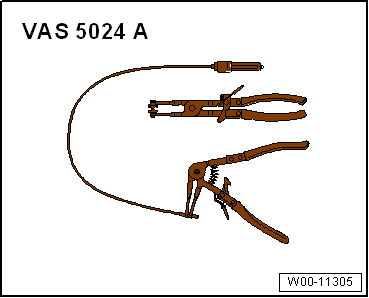
| Pliers for spring-type clips -VAS 5024A- |
|
|
|
| Drip tray for workshop hoist -VAS 6208- |
| – |
Switch off electrical consumers. |
| – |
Switch off auxiliary and supplementary heater and switch off
ignition. |
| – |
Remove front part of front right wheel housing liner
→ General body repairs, exterior; Rep. gr.66. |
|
|
|
| – |
Clamp off coolant hoses using hose clamps, up to 25 mm
-3094-. |
When the engine is warm, the cooling system is under pressure. Danger of
scalding due to steam and hot coolant. There is a risk of injury to the
skin and parts of the body due to scalding.Always wear safety
gloves.Always wear safety goggles.Proceed as follows to release the
pressure: cover the cap of the coolant expansion tank with a cloth, and
open it carefully.
| – |
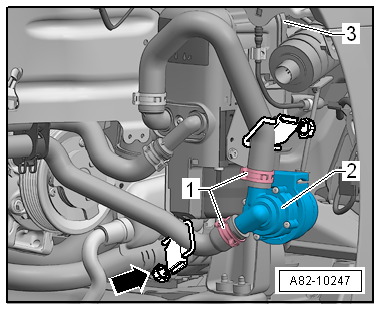
Unfasten O-type clips -1- and
pull coolant hoses off circulation pump -V55--2-. |
| – |
Disconnect connector -3- of
circulation pump -V55--2- at
auxiliary heater or at circulation pump -V55- (depending on
version). |
| – |
Pull circulation pump -V55--2-
off bracket. |
|
|
|
| – |
Slide circulation pump -V55--2-
onto bracket. |
| – |
Connect connector -3- of
circulation pump -V55--2- at
auxiliary heater or at circulation pump -V55- (depending on
version). Ensure proper engagement. |
| – |
Fit lower coolant hose. |
| – |
Open bottom hose clamps, up to 25 mm -3094--arrow-
until coolant is up to top edge of circulation pump -V55-. |
| – |
Fit upper coolant hose. |
| – |
Ensure cables are routed correctly and connectors remain
dry. |
| Remaining installation steps are performed in reverse order
of removal. |
| – |
If circulation pump -V55- is renewed, set operating hours
counter of circulation pump -V55- to zero using Guided functions
of vehicle diagnostic tester. |
| – |
Read event memory and clear entries using vehicle diagnostic
tester in “Guided fault finding” mode. |
| – |
If additional air entered cooling system during assembly,
coolant circuit must be bled
→ Chapter. |
| – |
Start auxiliary heater and run it at full load for at least
10 minutes so that fuel line is bled completely and you can
check operation of auxiliary heater. |
| Wheel housing liner; Removing and installing wheel housing
liner
→ General body repairs, exterior; Rep. gr.66 |
|
|
|
Removing
–
Switch off electrical consumers.
–
Switch off auxiliary and supplementary heater and switch o ...
Removing
Danger of severe burns from hot exhaust system. Burns to hands and other
body parts possible.Allow exhaust system to cool.
–
...
Other materials:
Introduction
This chapter contains information on the following subjects:
→ Display and indicator lamps
→ Function
→ Switch off the lane departure warning system in the following situations
Additional information and warnings:
Exterior views
Volkswagen in ...
Load-through hatch
Fig. 97 In the rear seat backrest: opening
the load-through hatch
Fig. 98 In the luggage compartment: opening
the load-through hatch
First read and observe the introductory information
and safety warnings A load-through hatch is located on the rear bench seat
behind the centre armrest. ...
Removing and installing head restraint
Removing
Note
The head restraints can be renewed with front seat installed.
The release button of the driver seat is located on outer right side
in direction of travel. The re ...
© 2016-2026 Copyright www.vwgolf.org

 Removing and installing air intake silencer
 Removing and installing exhaust system