Volkswagen Golf Service & Repair Manual: Removing and installing charge air cooling pump -V188-
| Special tools and workshop equipment
required |
|
|
|
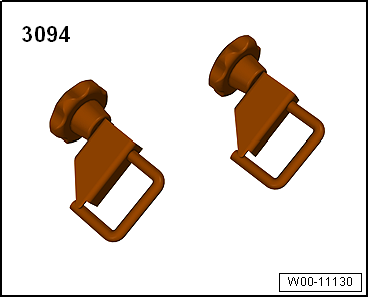
| Hose clamps up to 25 mm -3094- |
|
|
|
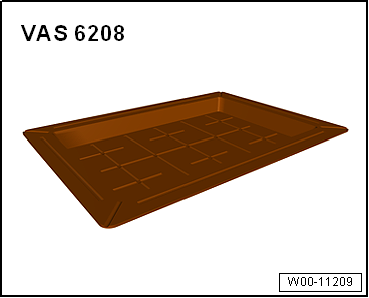
| Drip tray for workshop hoist -VAS 6208- |
|
|
|
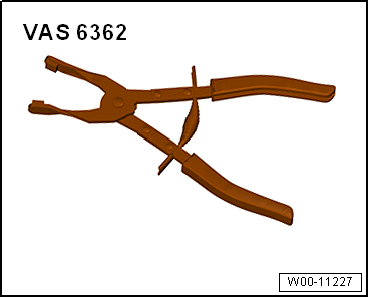
| Hose clip pliers -VAS 6362- |
|
|
|
| – |
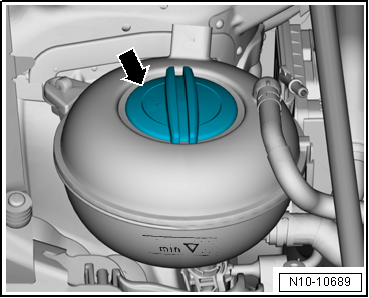
Open cap -arrow- on coolant
expansion tank. |
The cooling system is under pressure when the engine is hot. Hot
steam/hot coolant can escape - risk of scalding. Risk of scalding to
skin and body parts.Wear protective gloves.Wear eye protection.Release
pressure by covering cap of coolant expansion tank with a cloth and
opening it carefully.
| – |
Remove noise insulation
→ General body repairs, exterior; Rep. gr.66. |
|
|
|
| – |
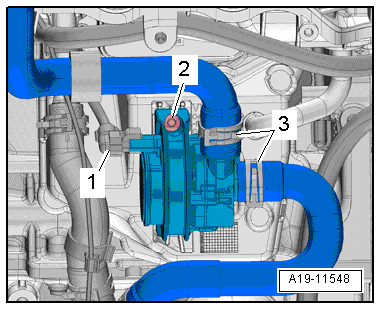
Disconnect electrical connector -1-. |
| – |
Set drip tray for workshop hoist -VAS 6208- underneath. |
| – |
Clamp off coolant hoses on charge air cooling pump -V188-
using hose clamps up to 25 mm -3094-. |
| – |
Release hose clips -3- and
detach coolant hoses. |
| – |
Unscrew bolt -2- and remove
charge air cooling pump -V188-. |
| Installation is carried out in the reverse order; note the
following: |
 Note Note
| Secure all hose connections with the same type of hose clips
as original equipment
→ Electronic Parts Catalogue. |
| – |
Install noise insulation
→ General body repairs, exterior; Rep. gr.66. |
| – |
Check coolant level
→ Anchor. |
| → Chapter „Assembly overview - electric coolant pump“ |
|
|
|
Removing
–
Remove coolant pump
→ Chapter.
–
Rem ...
Removing
Engine cold
–
Briefly open cap of coolant expansion tank
- ...
© 2016-2026 Copyright www.vwgolf.org

 Removing and installing thermostat for small cooling circuit
 Removing and installing coolant temperature sender -G62