Volkswagen Golf Service & Repair Manual: Installing roof reinforcement to body, estate with sliding sunroof
| Special tools and workshop equipment
required |
|
|
|
| |
|
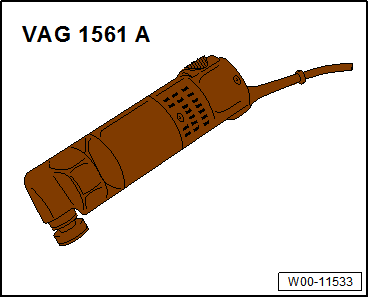
Electric cutter -V.A.G 1561A |
| |
|

Scraping blade -V.A.G 1561/20 |
| |
|
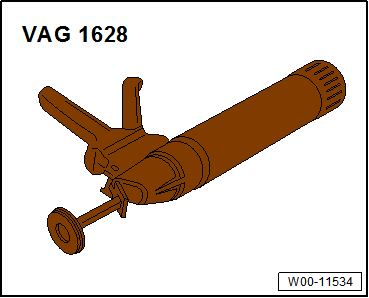
Cartridge gun -V.A.G 1628 |
| |
|
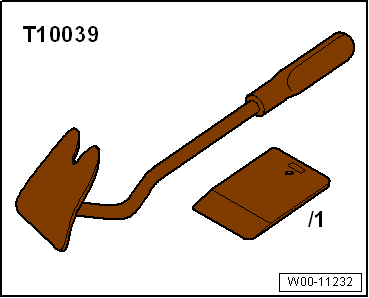
Release lever -T10039 |
| – |
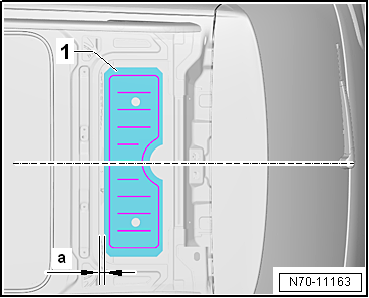
Use hand-cartridge gun -V.A.G 1628- to apply
single-component assembly adhesive (
→ Electronic Parts Catalogue) to roof reinforcements.
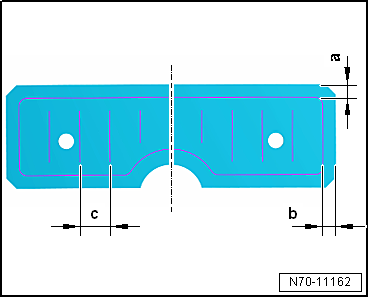
Observe the following dimensions while doing so. |
|
|
|
| – |
Measure roof reinforcements -1-
to width and mark centre of both sides. |
| – |
Guide roof reinforcement -1-
into vehicle. |
| – |
Position roof reinforcement -1-
according to -dimension a-
centrally on roof and press it on across entire surface. |
| Dimension -a- = 12 ± 1 mm from
rear sheet-metal edge. |
|
|
|
Special tools and workshop equipment
required
Electric cutter -V.A.G 1561A
...
Other materials:
Assembly overview- net partition
1 -
Net partition
Removing and installing
→ Chapter
2 -
Bolt
4.5 Nm
3 -
Remove fitting eye trim
Allocation
→ Electronic Parts Catalogue
Removing and installing
...
Safety measures when working on vehicles with a Start/Stop system
Observe the following when working on vehicles with a
Start/Stop system:
WARNING
Risk of injury due to automatic engine starting in
vehicles with a Start/Stop system.
...
Bag hook
Fig. 100 In the luggage compartment: bag
hook
First read and observe the introductory information
and safety warnings There may be a bag hook on upper left and right-hand
side of the luggage compartment (arrows).
WARNING
Never use the bag hooks as fastening rings for straps. The bag ...
© 2016-2026 Copyright www.vwgolf.org

 Note
Note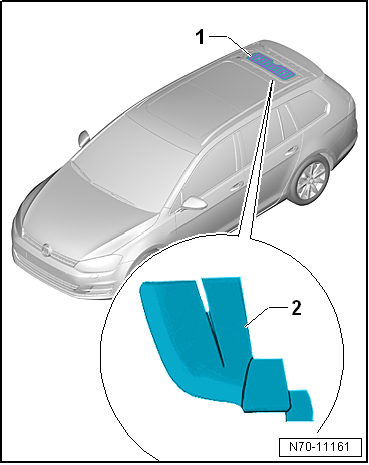
 Installing roof reinforcement to body, estate without sliding sunroof
 Seat frames