Volkswagen Golf Service & Repair Manual: Installing repair kit for headlight housing, does not apply for LED
headlights
| Special tools and workshop equipment
required |
|
|
|
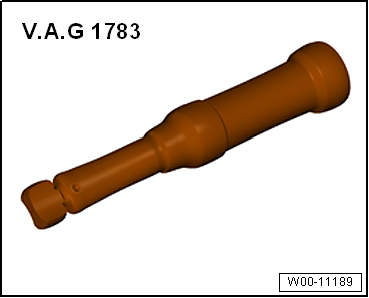
| Torque wrench -V.A.G 1783- |
|
|
|
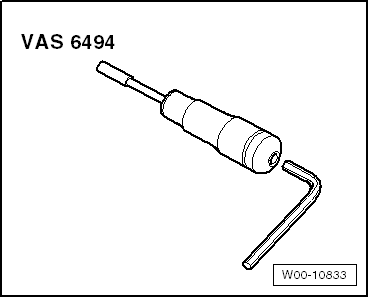
| Torque screwdriver -VAS 6494- |
 Note Note
| If retaining tabs broke off the headlights, they can be
renewed using the repair kit for headlight housing. There is
therefore no need to renew the entire headlight. |
| There are different repair kits available for the left and
right headlight
→ Electronic Parts Catalogue. |
| Removal and installation are described for the left side.
Removal and installation on the right side are carried out in
the same way. |
| – |
Remove headlight whose retaining tab is broken
→ Chapter. |
| – |
Remove remaining parts of broken retaining tab from
headlight housing. |
|
|
|
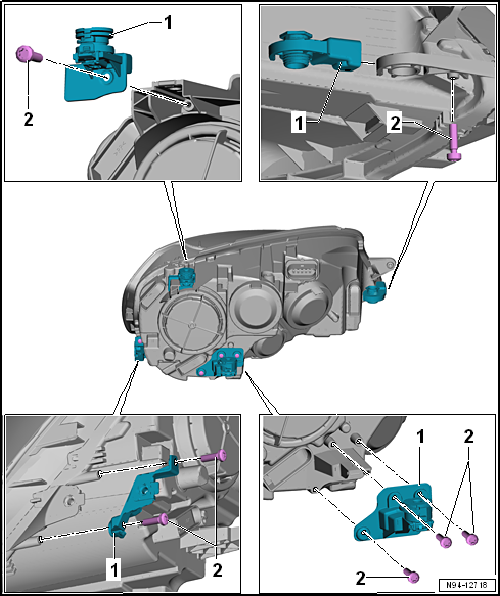
| – |
Fit retaining tab -1- of repair kit to
headlamp and secure it with bolt -2-. |
| – |
Install headlight and align it flush to body contour. |
| – |
Check headlight setting and adjust headlight if necessary
→ Booklet36.1 |
| → Chapter „Assembly overview – repair kit for headlight housing, does
not apply for LED headlights“ |
Note
Removal and installation are described for the left side.
Removal and installation on the right side are carried out in
the same way.
...
Special tools and workshop equipment
required
Torque wrench -V.A.G 1783-
...
© 2016-2026 Copyright www.vwgolf.org

 Removing and installing front turn signal bulb -M5-/-M7- (gas discharge
headlights)
Removing and installing front turn signal bulb -M5-/-M7- (gas discharge
headlights) Installing repair kit for headlight housing, LED headlights only