Volkswagen Golf Service & Repair Manual: 2-pack spray filler
| |
2-pack spray filler -ALN 788 007- |
| The 2-pack spray filler -ALN 788 007- is a two-pack spray
filler use in vehicle repair for evening out large
irregularities. |
| |
Especially suitable for use on large surfaces |
| |
Very good spraying properties |
| |
Easy to apply and has good vertical stability |
| |
Sheet steel, electroplated or roller galvanized sheet steel
or aluminium, cleaned, sanded and coated with 2-pack wash primer
-LHV 043 000 A2- or 1-pack wash primer -LVM 044 ... A2- and then
isolated with 2-pack HS surfacer |
| |
Fully cured, solvent-resistant, well-preserved and lightly
sanded old paint or original paint |
| |
Surfaces prepared with 2-pack polyester filler |
| |
Cleaned and sanded UP-GF (fibreglass) surfaces, free of
release agents |
 Caution
| This filler may not be applied to PVB (acid-curing)
surfaces or 1-pack primer (e.g. synthetic resin). |
| It is also unsuitable for thermoplastic or
viscoelastic paint. |
| To attain optimal corrosion protection, it is
recommended to prime remaining rust spots on corners and
edges, as well as bare metal with 2-pack wash primer
-LHV 043 000 A2- or prime them with 1-pack wash primer
-LVM 044 ... A2- and then isolate them with 2-pack HS
surfacer. |
|
|
|
|
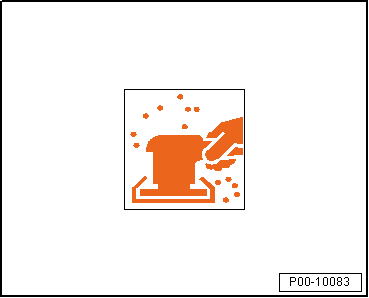
| – |
Carefully remove any grease and sand surface. |
| – |
For UP-GF (fibreglass) substrate parts, remove residual
release agents and lightly sand surface. |
|
|
|
| – |
Before recoating all substrates, use a suitable cleaning
agent to ensure a clean surface free of residues. |
|
|

|
| – |
Add 5% by volume 2-pack hardener -LHA 841 000 A2-. |
| – |
Pot life, 20-30 minutes at +20 °C. |
| – |
The minimum reaction temperature is +15 °C. |
|
|
|
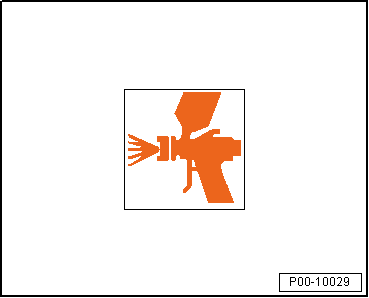
| Method of application: “spray”. |
|
|
|
| – |
Set application viscosity for a material temperature of
+20 °C. |
| – |
Adjust spray nozzle following manufacturer's instructions to
2-2.5 mm. |
| – |
Adjust spray pressure following manufacturer's instructions
to 2-3 bar. |
|
|

|
| – |
Five spray coats result in approximately 500-600 µm (coat
thicknesses up to approximately 1000 µm are possible). |
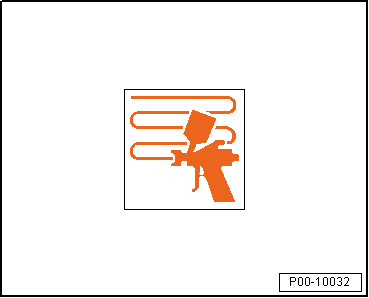
| Method of application: “brush” |
 Note Note
| When “brushing”, apply the material in one operation. |
|
|
|
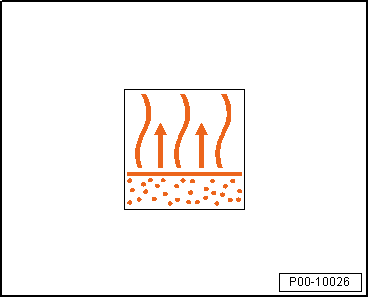
| Air drying at +20 ambient
temperature: |
| – |
Can be sanded after 2 hours |
|
|

|
| – |
Flash off time at least 10 minutes |
|
|
|
| – |
Drying time 30 minutes at +60 °C material temperature |
|
|
|
| – |
Flash off time at least 5 minutes |
|
|
|
| – |
Drying time 10-12 minutes, short-wave radiant heater at 50%
power |
| – |
Drying time 15-20 minutes, medium-wave radiant heater |
Note
| Heat resistant to +80 °C. |
|
|

|
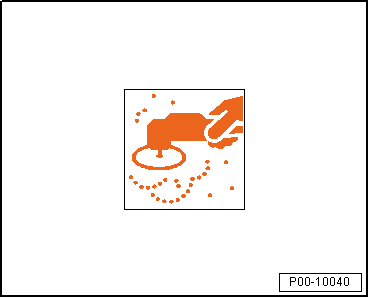
| – |
First sanding dry with P120 to P220-grade sandpaper |
| – |
Second sanding dry with P240 to P400-grade sandpaper |
Note
| Dry sanding should be carried out with a suitable sander
and a dust collector. |
|
|
|
| – |
Coat with 1-pack wash primer -LVM 044 ... A2- (only where
sanded to bare metal) |
| – |
Finish with waterborne basecoat and 2-pack HS clear coat and
2-pack HS top coat |
|
|
|
| Personal protective equipment: |
| |
Adhere to the safety data sheet. |
| |
Wear personal protective equipment during application. |
|
|
|
| Viscosity as supplied |
Thixotropic |
| Flash point: |
Above 23 °C |
| VOC content:
2004/42/IIB(b)(250)250 |
The EU limit value for this
product (product category IIB.b) in ready-to-spray form is max. 250 g/l
of volatile organic compounds. The VOC content of this product in
ready-to-spray form is max. 250 g/l. |
| The guaranteed shelf life is 12 months from date of
production. May be used until the date stated on the label at
latest if stored in sealed original containers at +20 °C. |
|
|
|
| – |
Storage temperature +20 °C (+30 °C must not be exceeded). |
|
|

|
Designation:
2-pack fine filler, flexible -LSP 787 100 A1-
Issued 07.2010
Product description
...
Designations:
2-pack IR Premium filler -LSP 787 220 A1-
2-pack IR Premium filler -LSP 787 220 A2-
...
© 2016-2026 Copyright www.vwgolf.org

 2-pack fine filler, flexible
 2-pack IR Premium filler