Volkswagen Golf Service & Repair Manual: Removing and installing steering wheel multifunction buttons -E441-/-E440-
| Special tools and workshop equipment
required |
|
|
|
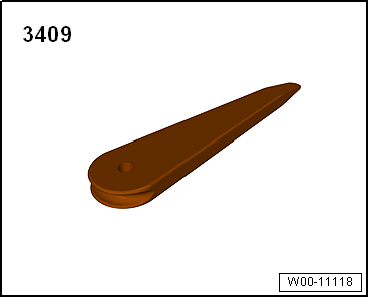
| Removal wedge -3409-, qty. 2 |
|
|
|
 N ote
| The multifunction buttons are bolted to the trim. The trim
together with the multifunction buttons is engaged on the
steering wheel. It is easier to remove the trim using two
removal wedges -3409-. |
| – |
Switch off ignition and all electrical consumers, and remove
ignition key. |
| – |
Remove airbag on driver side
→ General body repairs, interior; Rep. gr.69. |
|
|
|
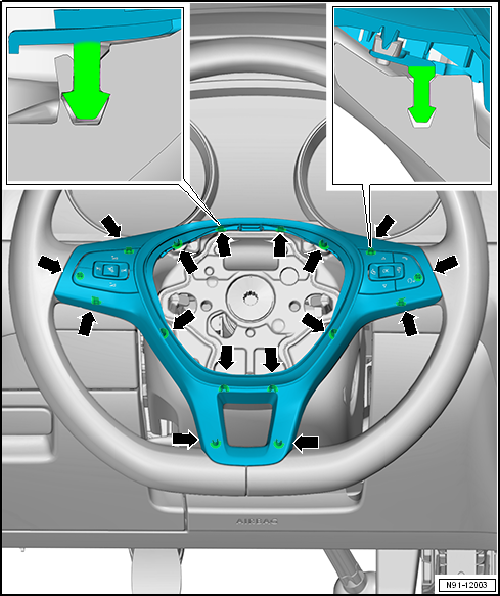
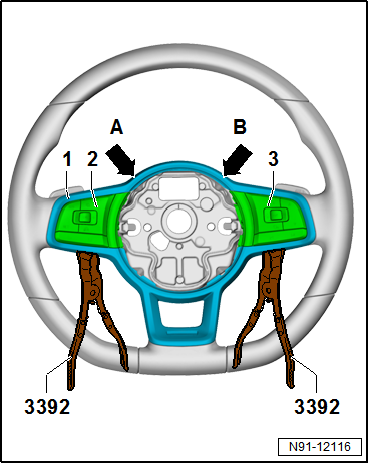
| The trim is engaged in the multifunction steering wheel in areas
indicated by the -arrows-. |
| – |
Using removal wedge -3409-, release trim
-1- from steering wheel in areas
indicated by arrows -A- and
-B-. |
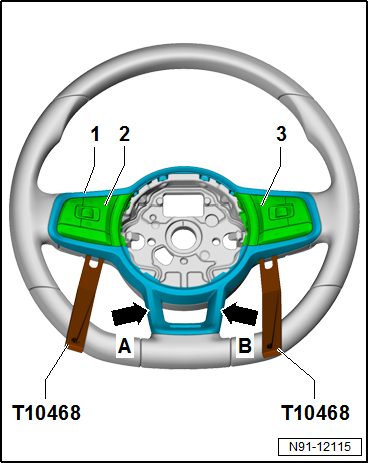
| – |
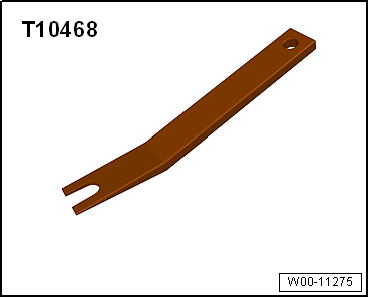
Using lever -T10468-, release trim -1-
in area of multifunction buttons on left in steering wheel
-E440--2- and multifunction buttons
on right in steering wheel -E441--3-. |
|
|
|
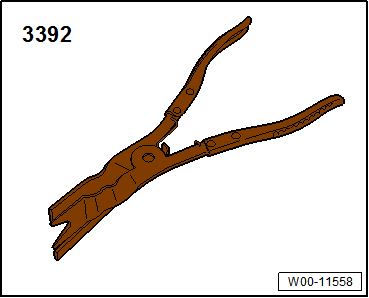
| – |
Using removal pliers -3392-, release trim
-1- in area of multifunction
buttons on left in steering wheel -E440--2-
and multifunction buttons on right in steering wheel -E441--3-. |
| – |
Pull trim -1- off steering
wheel in areas indicated by arrows -A-
and -B-. |
| – |
Release and detach connectors. |
| – |
Remove trim -1- together with
multifunction buttons on left in steering wheel -E440--2-
and multifunction buttons on right in steering wheel -E441--3-. |
| Install in the reverse order of removal. When doing this,
note the following: |
Note
| Clip in trim from below for easier installation. |
|
|
|
1 -
Tiptronic switch in steering wheel to shift down -E439-
Removing and installing
→ Chapter.
2 -
3-spoke steerin ...
Special tools and workshop equipment
required
Torque wrench -V.A.G 1783-
Removin ...
© 2016-2026 Copyright www.vwgolf.org

 Overview - multifunction steering wheel
 Removing and installing Tiptronic switch in steering wheel -E439-/-E438-