Volkswagen Golf Service & Repair Manual: Removing and installing bumper cover
| Volkswagen R GmbH, optional equipment, “R Line” and “R” |
| Special tools and workshop equipment
required |
|
|
|
 Note Note
| The removal and installation procedures for front bumper
cover may have to be revised slightly depending on model
variations. |
|
|
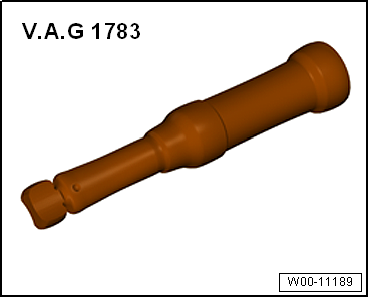
Torque wrench -V.A.G 1783- |

| – |
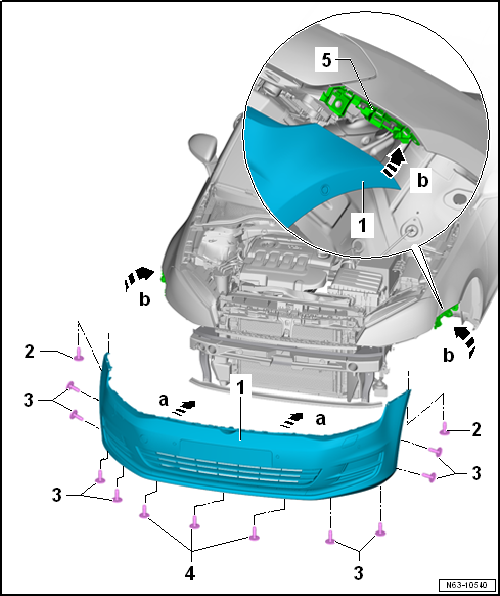
Removing radiator grille
→ Chapter |
| – |
Undo bolts -2- in wheel housing
(pointing upwards) on left and right. |
| – |
Unscrew bolts -3- on left and right. |
| – |
Unscrew bolts -4- from underneath. |
| Further dismantling requires the assistance of a second mechanic. |
| – |
Pull bumper cover -1- out of guide
fasteners on left and right of wing -arrows a-. |
| – |
Release locking hooks -arrows b- from
lock carrier. |
| – |
Pull bumper cover -1- off vehicle in
parallel movement -arrows c-. |
| – |
Detach washer fluid line hose couplings (if there are any)
→ Electrical system; Rep. gr.92. |
| – |
Separate connectors of electrical components (if present). |
| General information and work instructions for the parking aid can be
found in
→ Electrical system; Rep. gr.94. |
| General information and work instructions for the Park Assist system
can be found in
→ Electrical system; Rep. gr.94. |
| Further installation requires the assistance of a second mechanic. |
| – |
Connect connectors of all installed electrical components. |
Note
| When positioning the bumper cover, make sure that the front wheel
housing liner is correctly seated. |
| – |
Guide bumper cover -1- onto lock
carrier -arrows a- in a parallel movement
until locking devices engage. |
| – |
Press bumper cover -1- onto guides
-5- on left and right of wing until they
engage with each other -arrow b-. |
| – |
Observe gaps/shut lines
→ Rep. gr.00. |
| |
→ Chapter „Assembly overview - bumper cover“ |
Repairing bumper cover
Note
| If bumper cover is damaged, determine whether plastic can be
repaired before renewing bumper. |
| Description under:
→ General Information; Body Repairs, General Body Repairs |
|
|
|
1 -
Impact bar
2 -
Guide bracket
Left and right
3 -
Hexagon nut
Qty. 2 on each side
2.0 Nm
...
Special tools and workshop equipment
required
Installation tool for PDC bracket -VAS 6 ...
Other materials:
Removing and installing relay and fuse carrier behind dash panel, RHD
vehicles
Removing
–
With ignition switched off, disconnect earth cable from
battery
→ Chapter.
–
Remove dash panel
→ General body repairs, interior; Rep. gr.70.
...
Removing and installing tail light
Note
Removal and installation are described for the left side.
Removal and installation on the right side are carried out in
the same way.
If the event of a defective LED, the entire tail light needs
to be rene ...
Hardener for 2-pack primer surfacer
Designation:
Hardener for 2-pack primer surfacer -LHA 005 000 A2-
Note
Information on preparing and applying the hardener for
2-pack primer surfacer may be found in the documentation for the
respecti ...
© 2016-2026 Copyright www.vwgolf.org

 Assembly overview - impact bar
 Installing brackets for parking aid system