Volkswagen Golf Service & Repair Manual: Removing and installing brake caliper, front brakes PC57 and C60
| Special tools and workshop equipment
required |
|
|
|
| Torque wrench -V.A.G 1331- |
|
|
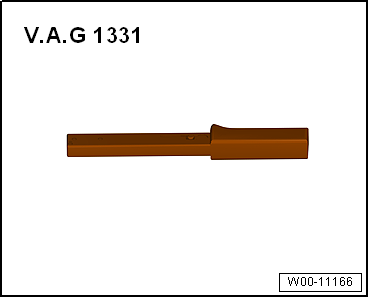
|
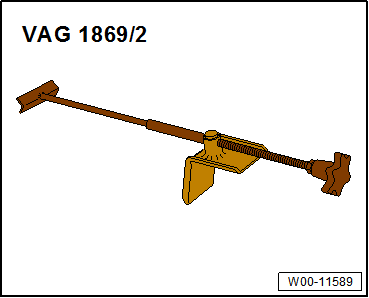
| Brake pedal depressor -V.A.G 1869/2- |
 Note Note
| This procedure applies only to exchanging or the following
repair work on the brake caliper. |
| – |
Remove front wheel on relevant side. |
| – |
Disconnect connector for brake pad wear indicator. |
|
|
|
| – |
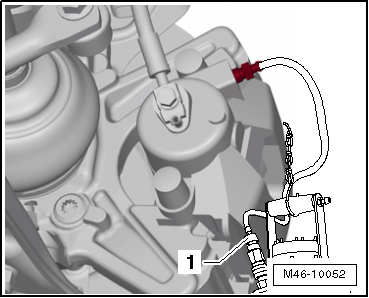
Connect bleed bottle bleed hose -1-
to bleed valve of brake caliper. |
|
|
|
| – |
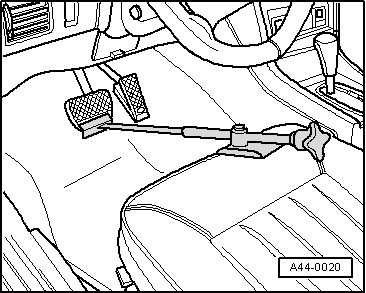
Apply brake pedal depressor -V.A.G 1869/2-. |
| – |
Close bleed valve and remove bleed bottle. |
|
|
|
| – |
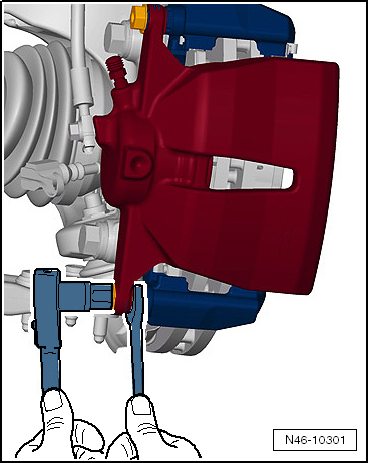
Unscrew both securing bolts from brake caliper,
counterholding on guide pin. |
| – |
Pull brake caliper off brake carrier. |
| Install in reverse order of removal, observing the
following: |
| The two brake pads are seated in the retaining springs on
the brake carrier. |
| – |
Carefully place brake caliper on brake carrier. |
| – |
Secure brake caliper to brake carrier with new self-locking
bolts, counterholding on guide pin. |
| – |
Screw brake hose onto brake caliper. |
| – |
Remove brake pedal depressor -V.A.G 1869/2-. |
| – |
Connect brake pad wear indicator connector. |
| – |
Bleed brake system
→ Chapter. |
| → Chapter „Assembly overview - front brakes PC57 and C60“ |
| Bleed valve
→ Chapter „Assembly overview - front brake caliper“ |
| Wheel bolts
→ Running gear, axles, steering; Rep. gr.44. |
 Note Note
| Firmly depress brake pedal several times with vehicle
stationary so that the brake pads are properly seated in their
normal operating position. |
|
|
|
Special tools and workshop equipment
required
Torque wrench -V.A.G 1331-
...
Assembly overview - rear brakes:
Note
Use the brake filling and bleeding equipment -VAS 5234- to
draw off brake fluid from the b ...
Other materials:
Adjusting wiper arm
Special tools and workshop equipment
required
Torque wrench -V.A.G 1331-
–
Remove wiper arm
→ Chapter.
–
Switch ...
Removing and installing fuel line for auxiliary/supplementary heater
Removing
–
Observe safety precautions
→ Chapter.
–
Observe rules for cleanliness
→ Chapter.
–
Fuel tank must not be more than 3/4
...
Areas exposed to stone chipping
Body areas exposed to stone chipping
Note
The marked areas are exposed to stone chipping.
When sanding these areas, note thicknesses of the paint structure
and avoid sanding through. This is the only way to ensure long-term
corrosion protection.
...
© 2016-2026 Copyright www.vwgolf.org

 Note
Note Note
Note Removing and installing brake caliper, FS III front brake
 Rear brakes


