Volkswagen Golf Service & Repair Manual: Removing and installing rear door trim
 Note Note
| Removal and installation is described for the rear door trim
on driver side. Follow same instructions for the front passenger
side as appropriate. |
| Special tools and workshop equipment
required |
|
|
|
| |
|
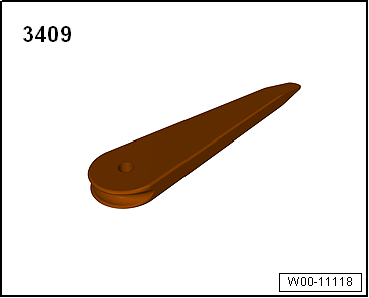
Removal wedge -3409- |
| |
|
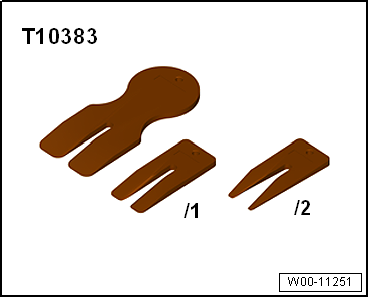
Wedges -T10383- |
| Vehicles without electric window regulator |
| – |
Remove window winder
→ General body repairs, exterior; Rep. gr.58. |
| Continued for all vehicles |
| – |
Switch off ignition and all electric loads and then remove
ignition key. |
|
|
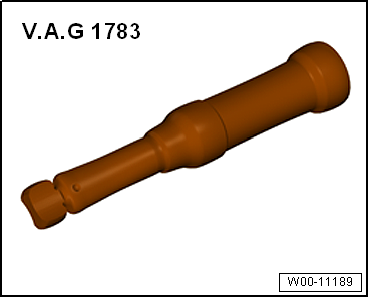
Torque wrench -V.A.G 1783- |
| – |
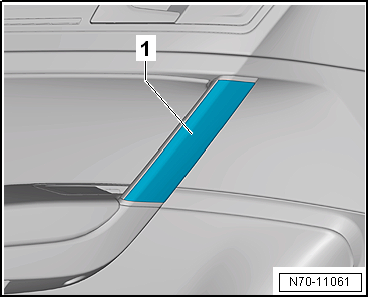
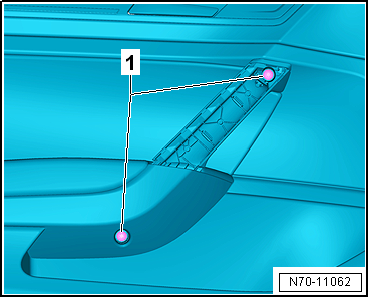
Lever upper part of handle recess -1-
out of mountings in door trim, using removal wedge -3409-. |
|
|
|
| – |
Remove reflector
→ Electrical system; Rep. gr.96. |
|
|
|
| – |
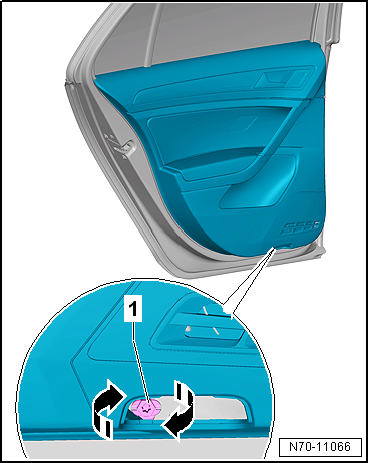
Release retaining clip -1- with
Torx T30 by turning it 90° (1/4
turn) in -direction of arrow-. |
|
|
|
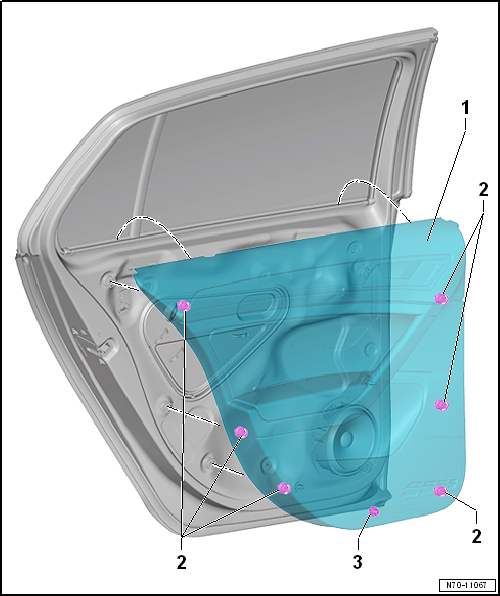
| – |
Force retaining clips -2- of door trim
-1- out of mountings with wedges -T10383-.
Clip -3- has already been released. |
| – |
Pull door trim -1- upwards vertically
out of window slot seal. |
| – |
Disconnect the electrical plug-in connections from the door trim
-1- in accordance with the vehicle's
equipment. |
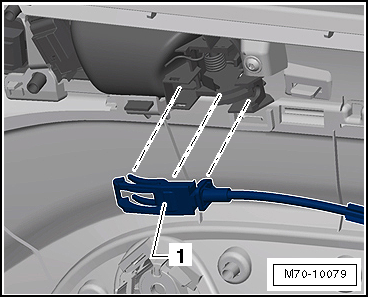
| – |
Unhook Bowden cable -1- from
inner door handle. |
Note
-
| Before installing, check all fasteners for damage and
renew if necessary. |
-
| Install in reverse order, but note the following: |
| – |
Insert retaining clips into rear door trim. |
|
|
|
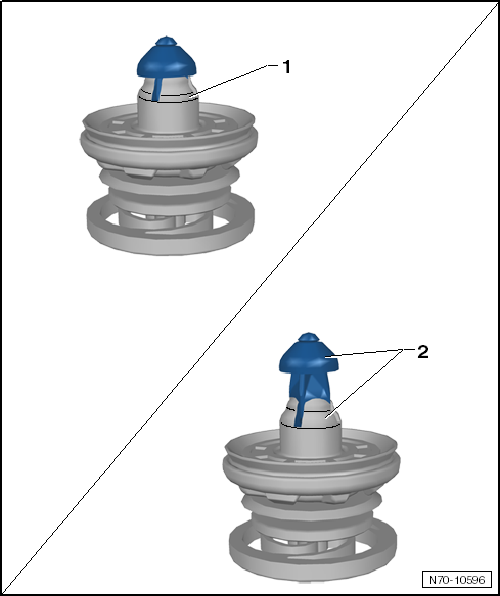
 Caution Caution
| Before installing door trim, ensure that the locking
mechanisms of all clips are in
-position 1-. |
| It is not possible to install the door trim without problem
if clips are in -position 2-! |
|
| |
→ Chapter „Assembly overview - rear door trim“ |
|
|
|
Note
The assembly overview is shown for the rear door trim on driver
side. The assembly overview for the front passenger side is analogous.
1 -
D ...
Note
Removal and installation are described for the trim panel on
driver side. Follow same instructions for the front passenger
side as appropriate.
...
Other materials:
Brake support systems
First read and observe the introductory information
and safety warnings The brake support systems ESC, ABS, BAS, TCS and EDL
only function when the engine is running. They make a considerable contribution
to active driving safety.
Electronic stability control (ESC)
The ESC helps to reduc ...
Removing and installing brake pads or linings
Special tools and workshop equipment required
Vehicle diagnosis, testing and information system -VAS 5051-
Tool set for brake bleeding -VAS 6564-
Insert tool with ratchet -VAS 6784-
Bit attachment (7 mm) -T10503-
...
Rear brakes
The type of brake system installed in the vehicle is
indicated among other things by the corresponding PR number on
the vehicle data sticker.
The vehicle data sticker can be found in the spare wheel
well and in the service schedule.
...
© 2016-2026 Copyright www.vwgolf.org

 Assembly overview - rear door trim
 Removing and installing trim panel