Volkswagen Golf Service & Repair Manual: Removing and installing evacuating and charging valves on low and
high-pressure side
| Special tools and workshop equipment
required |
|
|
|
| |
|
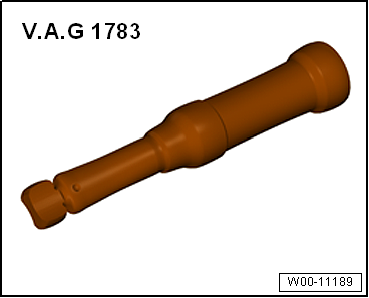
Torque wrench -V.A.G 1783 |
| |
|
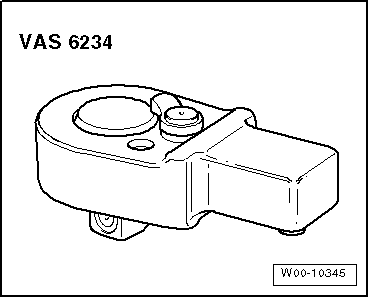
Ratchet insert 1/4 inch -VAS 6234 |
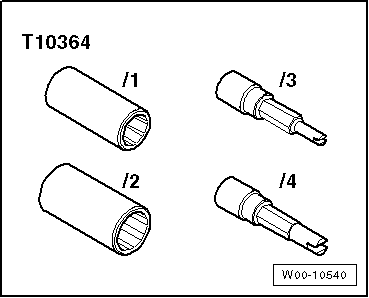
| Adapter set for service connections -T10364- |
| Air conditioner service station |
 Note Note
| Releasing refrigerant into the environment is a punishable
offence. |
| All components of the refrigerant circuit which have been
opened must be sealed with suitable plugs to prevent moisture
intrusion. |
| – |
Observe safety precautions
→ Chapter „Safety precautions when handling refrigerants“. |
| – |
Comply with notes
→ Chapter „Working on refrigerant circuit“. |
| – |
Observe safety precautions when working in the vicinity of
high-voltage components
→ Chapter „Safety precautions when working in the vicinity of
high-voltage components“. |
|
|
|
| – |
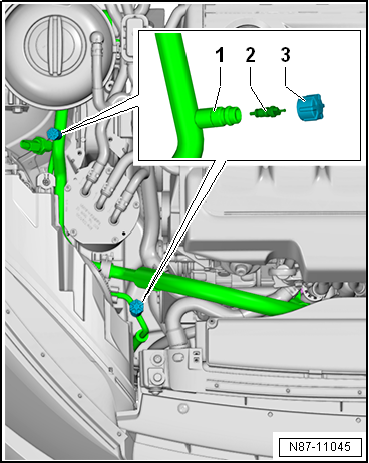
Unscrew protective cap -3-. |
Risk of freezing injury caused by escaping pressurised refrigerant.There
is a risk of injury to the skin and parts of the body due to
freezing.Always wear safety gloves.Always wear safety goggles.Extract
refrigerant, and open the refrigerant circuit immediately afterwards.If
more than 10 minutes passed since the refrigerant has been extracted, do
not open the refrigerant circuit prior to extracting refrigerant anew.
Due to re-evaporation, pressure will be built up in the refrigerant
circuit.
| – |
Evacuate refrigerant circuit with air conditioner service
station. Then first renew valve -2-. |
| – |
Unscrew valve insert -2- from
refrigerant line.
|
| – |
Install in reverse order. |
| → Chapter „System overview - refrigerant circuit“ |
|
|
|
Special tools and workshop equipment
required
Torque wrench -V.A.G 1331/- (5…50 Nm)
...
Special tools and workshop equipment
required
Torque wrench -V.A.G 1331/- (5…50 Nm)
...
© 2016-2024 Copyright www.vwgolf.org

 Removing and installing damper weight for refrigerant line, low-pressure
side
Removing and installing damper weight for refrigerant line, low-pressure
side Removing and installing refrigerant pressure and temperature sender -G395