Volkswagen Golf Service & Repair Manual: Removing and installing tyre pressure sensor, tyre pressure sensor without
valve, production version
| Special tools and workshop equipment
required |
|
|
|
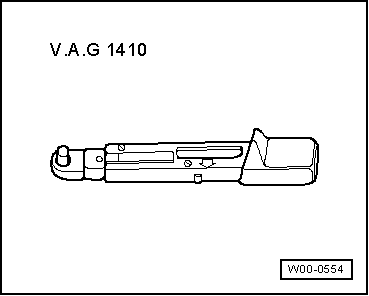
| Torque wrench -V.A.G 1410- |
| Carry out the following work: |
| – |
Remove tyre from wheel rim. |
|
|

|
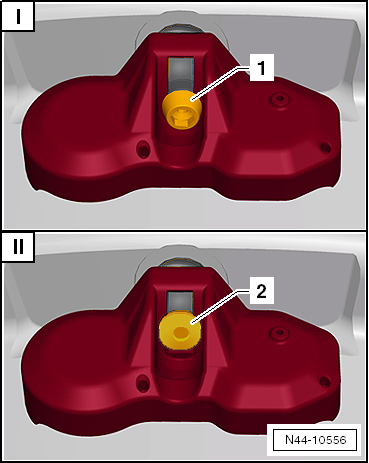
| Be sure to check which version is installed, before
performing further work. |
| I - Customer service version |
| In the customer service version, the tyre pressure sensor is
secured on the valve by means of a torx socket bolt
-1-. |
| If the customer service version is installed, the following
work sequence applies
→ Anchor. |
| In case of the production version, the tyre pressure sensor
is secured on the valve by means of a flat square head bolt
-2-. |
| If the production version is installed, the following work
sequence applies
→ Anchor. |
|
|

|
| – |
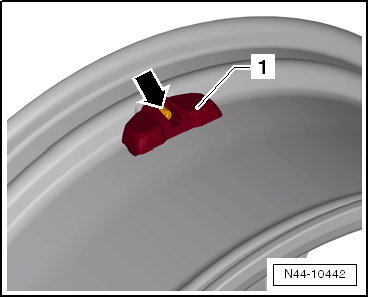
Press tyre pressure sensor -1-
against wheel rim, and secure it using a new bolt
-arrow-. |
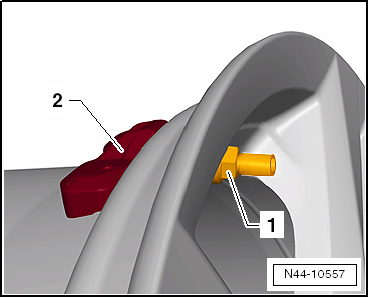
| – |
Counter hold on metal valve (for example using 2 mm twist
drill). |
 Note Note
| After fitting, carry out a visual inspection and check that
it is securely seated. The tyre pressure sensor
-1- must be bolted such that there
is no play, and its support feet must be located in the drop
centre of the rim. |
| The bolt must not be retightened to specified torque after
the installation has been completed. |
| → Chapter „Assembly overview - tyre pressure sensor, tyre
pressure sensor without valve“ |
|
|

|
Special tools and workshop equipment
required
Torque wrench -V.A.G 1410-
Ca ...
Special tools and workshop equipment
required
Torque wrench -V.A.G 1410- and 11 mm insert
...
Other materials:
Introduction
This chapter contains information on the following subjects:
→ Interior mirror
→ Exterior mirrors
For safety reasons it is important that the driver positions the exterior and
interior mirrors correctly before starting a journey .
The driver can use the exterior mi ...
Assembly overview - fuel tank, vehicles with fuel tank leak detection
1 -
Cap
Screw in until engages audibly
Secured to tank flap unit by means of retaining strap.
2 -
Earth connection
For fuel filler neck
3 -
Bolt
Renew ...
Removing and installing holder for heater and air conditioning unit
Note
Leave the holders in the vehicle on removing the heater and
air conditioning unit. The illustration shows a left-hand drive
vehicle.
Removing
–
Re ...
© 2016-2024 Copyright www.vwgolf.org

 Note
Note Note
Note Note
Note Removing and installing tyre pressure sensor, tyre pressure sensor without
valve, customer service version
 Removing and installing tyre pressure sensor, metal valve body


 Caution
