Volkswagen Golf Service & Repair Manual: Removing and installing seat depth adjustment
| Special tools and workshop equipment
required |
|
|
|
| – |
Remove front seat
→ Chapter. |
| – |
Secure front seat on seat repair stand
→ Chapter. |
| – |
If fitted, remove storage compartment
→ Chapter. |
|
|
|
| – |
Set seat depth adjustment as far forwards as possible. |
| – |
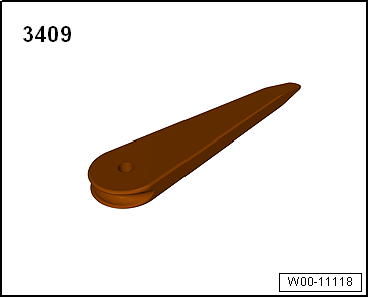
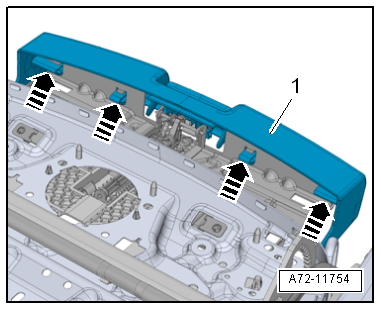
Release locking lugs -arrows-
on trim -1- using removal wedge
-3409-. |
| – |
Remove trim -1- from seat depth
adjustment. |
|
|
|
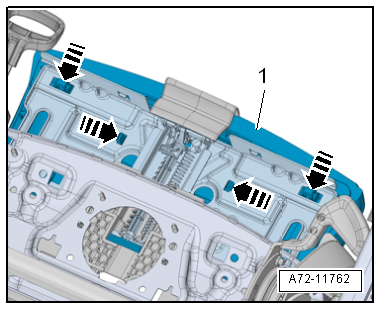
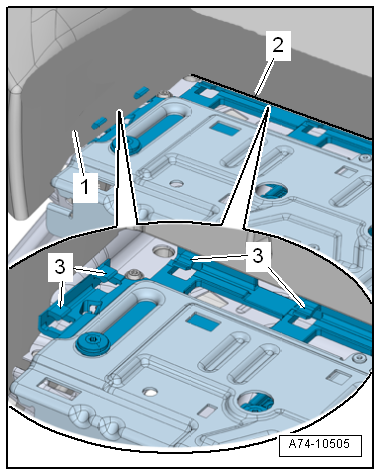
| – |
Release locking lugs -arrows-
on carrier from seat depth adjustment using removal wedge
-3409-. |
| – |
Pull off carrier -1- with seat
padding and seat cover for seat depth adjustment upwards and
towards front. |
|
|
|
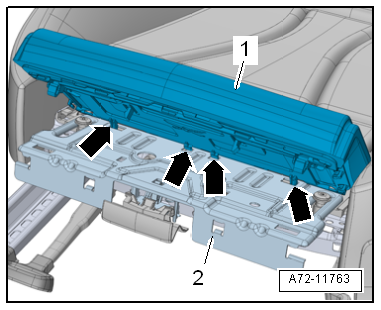
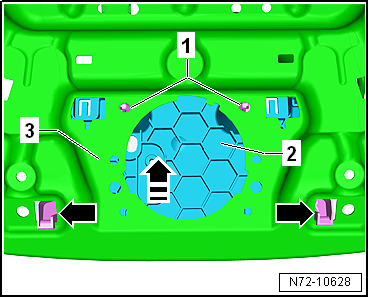
| – |
Detach tabs -arrows- from seat
depth adjustment -2-. |
| – |
Fold back carrier with seat padding and seat cover upwards. |
| – |
To do this, pull off carrier -1-
with seat padding and seat cover for seat depth adjustment
upwards and simultaneously towards front. |
|
|
|
| – |
To do this, unclip seat cover -1-
from locking lugs -3-. |
|
|
|
| Vehicles with massage control unit -J740- |
| – |
Remove massage control unit -J740-
→ Chapter. |
| – |
Pull out seat depth adjustment. |
| – |
Unclip retaining lugs -1-. |
| – |
Lower bracket for massage control unit -J740--2-
in area of retaining lugs -1-. |
| – |
Push bracket for massage control unit -J740--2-
in -direction of arrow-. |
| – |
Detach bracket for massage control unit -J740--2-
from mountings -arrows-. |
|
|
|
| Continued for all vehicles |
| – |
Slide seat depth adjustment towards rear. |
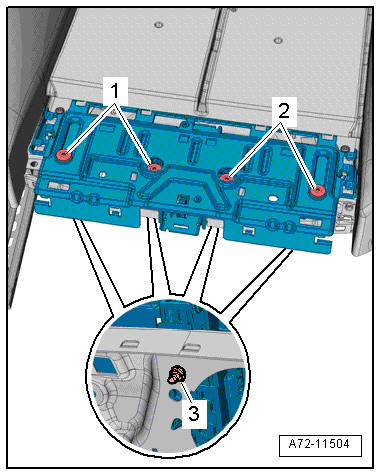
| – |
Remove bolts -1- and
-2- |
| – |
Counterhold on nuts -3- on seat
depth adjustment while doing so. |
|
|
|
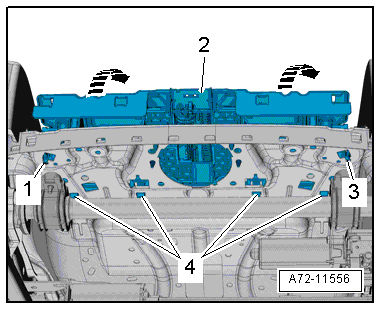
| – |
Unclip locking lugs -1- and
-3- using removal wedge -3409-. |
| – |
Pull seat depth adjustment -2-
upwards and towards front off seat pan
-arrows-. |
| – |
Detach tabs -4- from seat pan
while doing so. |
| – |
Remove seat depth adjustment from front seat. |
| Install in reverse order, but note the following: |
|
|
|
| |
The two outer bolts are provided with a plastic guide
→ Anchor. |
| |
Ensure proper allocation. |
| |
→ Chapter „Assembly overview - front seat“ |
| |
→ Chapter „Assembly overview - seat pan“ |
| |
Assembly overview - seat depth adjustment
→ Anchor. |
|
|
|
Special tools and workshop equipment
required
Torque wrench -V.A.G 1331-
...
Note
The handle for seat height adjustment can be renewed with
front seat installed.
Removing
Note
...
Other materials:
Battery tester with printer -VAS 6161-
General description:
WARNING
Danger of injury! Observe warning notices and safety
regulations
→ Chapter!
It is not necessary to remove or ...
Removing and installing rear window
Note
The removal of a bonded window is described using the
Removal kit for flush bonded windows -V.A.G 1474 A-.
Alternatively, you can also use the cutting tool for bonded
windows -VAS 6452-.
...
Before operating the air conditioning system after recharging with
refrigerant
After installing a new air conditioner compressor or filling
with fresh refrigerant oil (e.g. after blowing out refrigerant
circuit), turn compressor pulley 10 revolutions by hand before
starting engine. This will prevent damage to the air conditioner
...
© 2016-2024 Copyright www.vwgolf.org

 Note
Note Caution
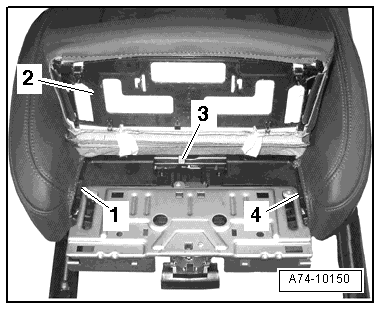
 Removing and installing front backrest
 Removing and installing handle for seat height adjustment