Volkswagen Golf Service & Repair Manual: Removing and installing rear wheel housing liner
| Special tools and workshop equipment
required |
|
|
|
| |
|
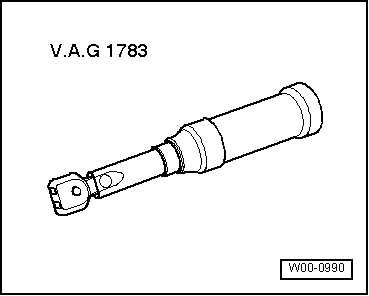
Torque wrench -V.A.G 1783- |
 Note
Note
-
| |
Removal and installation are described for the rear left
wheel housing liner only. The right side is similar. |
-
| |
The removal and installation procedures may have to be
modified slightly depending on model variants. |
| – |
Remove wheel
→ Running gear, axles, steering; Rep. gr.44. |
| – |
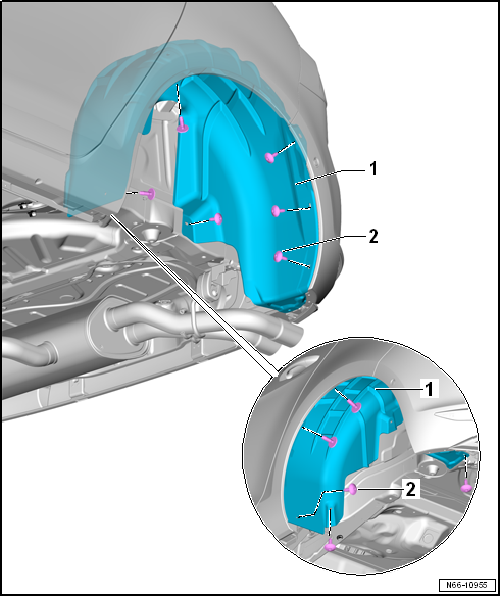
Pull rear wheel housing liner -1- out
of wheel housing. |
| Removing and installing sill panel cover
→ Anchor |
Note
| Check spreader nuts for damage, and renew them if necessary
→ Item. |
| – |
Insert rear wheel housing liner -1- in
wheel housing without kinking the liner. |
| |
Bolts
→ Chapter „Assembly overview - rear wheel housing liner“. |
Note
Minor differences may be encountered in respect of front wheel
housing liner, depending on vehicle model.
Only the left side is shown. The ...
Other materials:
Adjusting bonnet
Adjusting bonnet
Special tools and workshop equipment
required
Torque wrench -V.A.G 1331-
Note
Vehicle must be standing on its wheels to enable bonnet to ...
Overview - power transmission
Overview - power transmission - front-wheel drive
The 7-speed dual clutch gearbox 0CW equipped with 5 shafts. 2 input
shafts and 3 output shafts.
A1 -
Input shaft 1
A2 -
Input shaft 2
B1 - ...
Removing and installing C-pillar trim, saloon
Note
Removal and installation are described for the left
vehicle side. Follow same instructions for the right side as
appropriate.
Special tools and workshop equipment
required
...
© 2016-2026 Copyright www.vwgolf.org


 Assembly overview - rear wheel housing liner