Volkswagen Golf Service & Repair Manual: Removing and installing moulded headliner, estate
| Special tools and workshop equipment
required |
|
|
|
| |
|
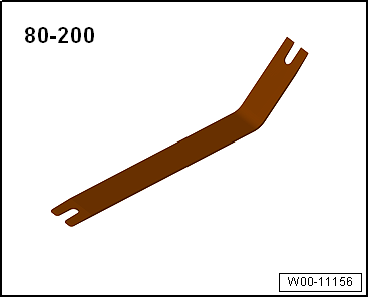
Removal lever -80 - 200 |
| |
|
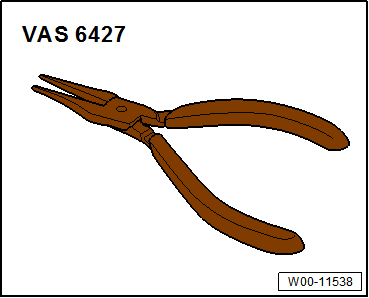
Release pliers -VAS 6427 |
| – |
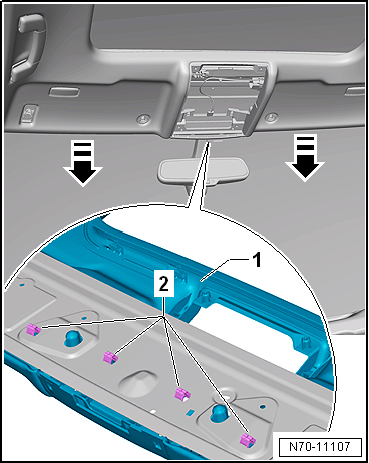
Release retaining clips -2- in
retaining frame for moulded headliner -1-
from body mountings using release pliers -VAS 6427-. |
| – |
Hold moulded headliner -1- in
such a way -arrows- that released
retaining clips -2- do not engage
again. |
| – |
With the aid of a second mechanic, carefully remove moulded
headliner -1- from vehicle through
rear lid aperture. |
| Cutting new cut-outs into a new
moulded headliner |
| On vehicles with illuminated vanity mirrors and/or rain and
light sensor -G397- the respective cut-outs must be cut into a
new moulded headliner. |
| – |
Cut the required cut-outs into the new moulded headliner
using a cutter knife. The moulded headliner is provided with the
respective markings. |
| If possible use the old part as template. |
| The locations for the vanity mirror lights are indicated by
2 rectangular indentations on the inside of the moulded
headliner. |
| Centre the rectangular cuts in the rectangular indentations: |
| |
Dimensions: 20.5 mm Ч 59.6 mm |
| Further installation is carried out in reverse order of
removal. Observe the following: |
 Note Note
-
| |
Before installing, check all fasteners for damage and
renew if necessary. |
-
| |
Always renew retaining clips for trim frame (qty. 23)
before installation. |
|
|
|
Special tools and workshop equipment
required
Wedges -T10383
&nb ...
Special tools and workshop equipment
required
Electric cutter -V.A.G 1561A
...
Other materials:
Removing and installing right temperature flap control motor -V159-, RHD
vehicles
Special tools and workshop equipment
required
Vehicle diagnostic tester
Bit ratchet
First carry out the following work:
–
Switch off all electrical consum ...
Removing and installing Sanden belt pulley
Note
The pulley is sensitive to impact and should therefore be
treated with extreme care.
If the belt pulley overload protection has deployed, check
freedom of movement of air conditioner compressor before
rene ...
Gear-change indicator
Fig. 140 In the instrument cluster display:
gear-change indicator
First read and observe the introductory information
and safety warnings The instrument cluster display may, depending on the
vehicle's equipment level, indicate which gear should be selected to reduce fuel
consumption ...
© 2016-2026 Copyright www.vwgolf.org

 Caution
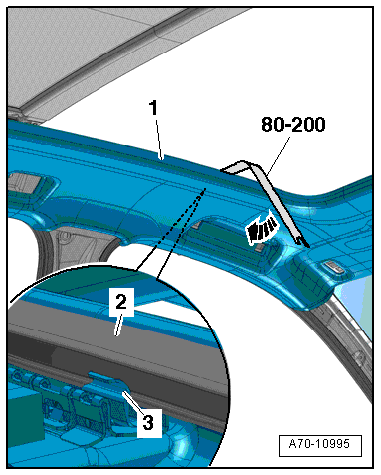
 Removing and installing moulded headliner, saloon
 Installing roof reinforcement to body, estate without sliding sunroof