Volkswagen Golf Service & Repair Manual: Removing and installing knee airbag with driver side knee airbag igniter -N295-
|
 WARNING
|
|
|
|
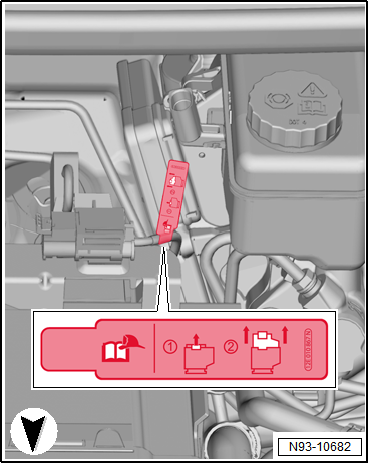
 Note Note
|
|
 Caution
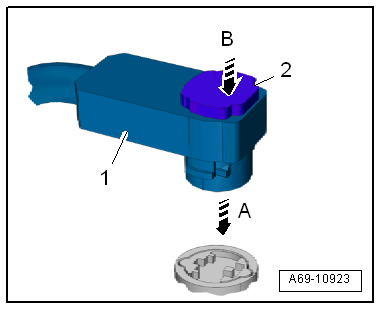
Note
|
|
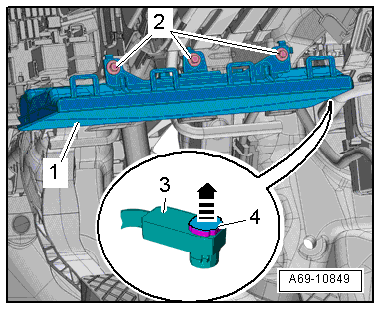
 Assembly overview - knee airbag
1 -
Knee airbag with driver side knee airbag igniter -N295-.
Removing and installing
→ Chapter
Cau ...

Other materials:
Turn signal and main beam lever
Fig. 81 Turn signal and main beam lever
First read and observe the introductory information
and safety warnings Move the lever into the required position:
Right turn signal  . With ignition switched
off move from central position for right parking light   .
Left turn signal †...
Removing and installing steering column, LHD
Special tools and workshop equipment
required
Torque wrench -V.A.G 1331-
Torque wrench -V.A.G 1332-
Remov ...
Digital sound package control unit -J525-, vehicles with Dynaudio
Special tools and workshop equipment
required
Torque wrench -V.A.G 1783-
Protective cap for wiring harness connector -VAS 6223/9 ...
