Volkswagen Golf Service & Repair Manual: Removing and installing brake caliper
| Special tools and workshop equipment
required |
|
|
|
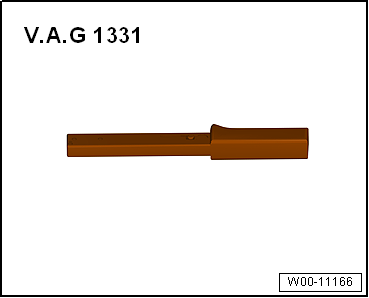
| Torque wrench -V.A.G 1331- |
|
|
|
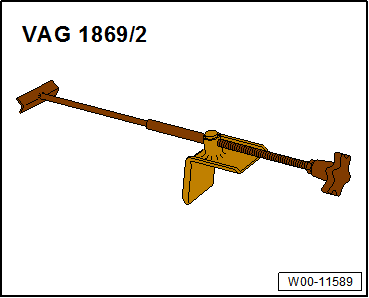
| Brake pedal depressor -V.A.G 1869/2- |
 Note Note
| This procedure applies only to exchanging or the following
repair work on the brake caliper. |
| – |
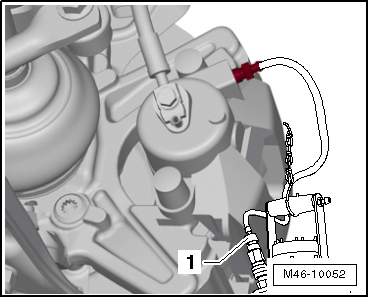
Disconnect connector for brake pad wear indicator. |
|
|
|
| – |
Connect hose of bleeder bottle -1-
to bleeder valve of brake caliper. |
|
|
|
| – |
Apply brake pedal depressor -V.A.G 1869/2-. |
| – |
Close bleeder valve and remove bleeder bottle. |
|
|
|
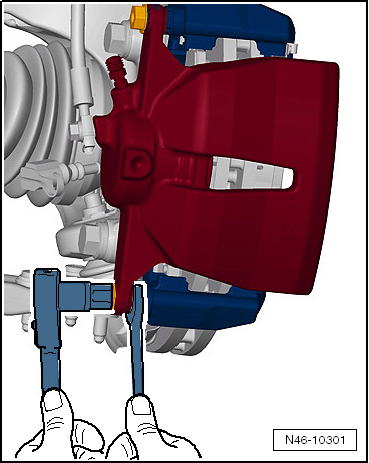
| – |
Unscrew both securing bolts from brake caliper,
counterholding on guide pin. |
| – |
Pull brake caliper off brake carrier. |
| The two brake pads are seated in the retaining springs on
the brake carrier. |
| – |
Carefully place brake caliper on brake carrier. |
| – |
Secure brake caliper to brake carrier with new self-locking
bolts, counterholding on guide pin. |
| – |
Screw brake hose onto brake caliper. |
| – |
Remove brake pedal depressor -V.A.G 1869/2-. |
| – |
Connect brake pad wear indicator connector. |
| – |
Bleed brake system
→ Chapter. |
| → Chapter „Assembly overview - front brakes“ |
| Bleed valve
→ Chapter „Assembly overview - front brake caliper“ |
| Wheel bolts
→ Running gear, axles, steering; Rep. gr.44. |
Note
| Firmly depress brake pedal several times with vehicle
stationary so that the brake pads are properly seated in their
normal operating position. |
|
|
|
Special tools and workshop equipment
required
Torque wrench -V.A.G 1331-
...
Other materials:
Rules for cleanliness
When working on the fuel supply and injection system,
observe the following “5 rules” for cleanliness:
Thoroughly clean all unions and surrounding areas before
disconnecting.
Place removed parts on a clea ...
Fitting the front towing eye
Fig. 246 In the right-hand side of the
front bumper: removing the cover
Fig. 247 Front bumper, right-hand side:
screwing in the towing eye
First read and observe the introductory information
and safety warningsThe towing eye is screwed into a threaded hole behind
a cover on the right of ...
Wheel alignment procedure
Always adhere to the following procedure!
Note
The vehicle must always be in unladen condition when
measuring wheel alignment
→ Chapter.
–
T ...
© 2016-2024 Copyright www.vwgolf.org

 Removing and installing brake pads, front brakes
 Rear brakes