Volkswagen Golf Service & Repair Manual: Removing and installing rear shelf support
 Note Note
| Removal and installation are described for the left vehicle
side. Follow same instructions for the right side as
appropriate. |
| Special tools and workshop equipment
required |
|
|
|
| |
|
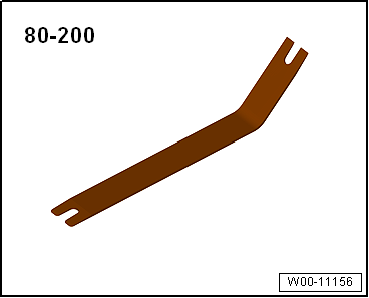
Removal lever -80 - 200 |
| – |
Remove wheel housing trim
→ Chapter. |
| – |
Remove side trim panel
→ Chapter. |
| Continued for all vehicles |
| – |
Remove lock carrier trim
→ Chapter. |
| – |
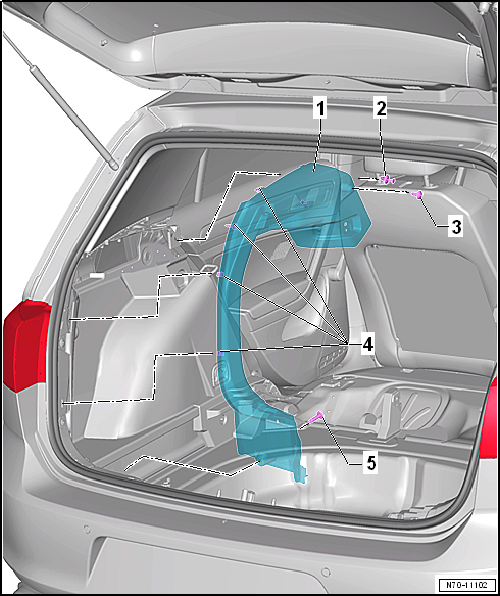
Remove bolts -3- and
-5- |
| – |
Release rear shelf support -1- in area
of retaining clips from body mountings -arrows-
using removal lever -80 - 200-. |
| – |
If fitted, disconnect connectors and remove rear shelf support
-1-. |
Note
-
| |
Before installing, check all fasteners for damage and
renew if necessary. |
-
| |
Remove any retaining clips left in body mountings
using removal tool -T40280- and fit them in rear shelf
support for installation. |
-
| |
Following installation, ensure that the rear shelf
support is positioned in rear lid seal beading. |
| Installation is carried out in reverse order. |
| |
→ Chapter „Assembly overview - rear shelf support“ |
|
Special tools and workshop equipment
required
Removal lever -80 - 200
...
Note
Removal and installation are described for the left
vehicle side. Follow same instructions for the right side as
appropriate.
...
Other materials:
Removing and installing high-pressure pipe
Special tools and workshop equipment
required
Torque wrench -V.A.G 1331-
Insert -T10395/3- from tool set -T10395 A-
...
Retrofitting two-way radios
First read and observe the introductory information
and safety warnings You will need an external aerial to use a two-way radio
in the vehicle.
Any retrofit installation of electrical or electronic equipment in the vehicle
will affect its vehicle type approval. Under certain circumstances, ...
2-pack HS Vario surfacer
Designation:
2-pack HS Vario surfacer -LGF 786 004 A4-, grey
Issued 04.2013
Product description
2-pack HS Vario surfacer is a high-grade, versatile,
VOC-compliant 2-pa ...
© 2016-2024 Copyright www.vwgolf.org

 Removing and installing lock carrier trim
 Removing and installing tie-down rings