Volkswagen Golf Service & Repair Manual: Removing and installing circulation pump -V55-
| Special tools and workshop equipment
required |
|
|
|
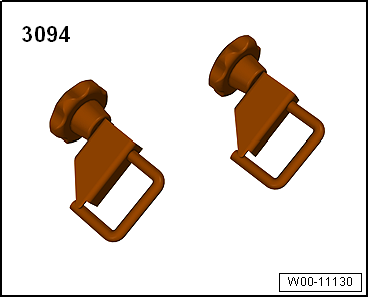
| Hose clamps, up to 25 mm -3094- |
|
|
|
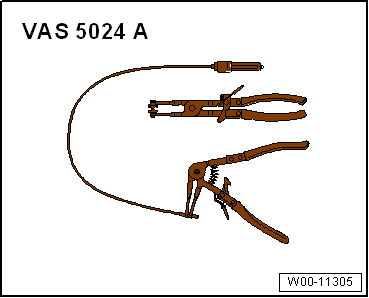
| Pliers for spring-type clips -VAS 5024A- |
|
|
|
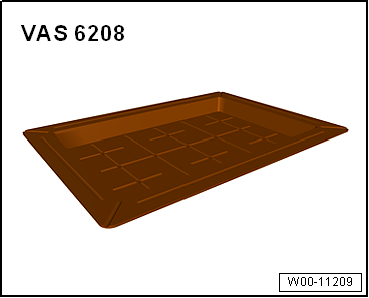
| Drip tray for workshop hoist -VAS 6208- |
| – |
Switch off electrical consumers. |
| – |
Switch off auxiliary and supplementary heater and switch off
ignition. |
| – |
Remove front part of front right wheel housing liner
→ General body repairs, exterior; Rep. gr.66. |
|
|
|
| – |
Clamp off coolant hoses using hose clamps, up to 25 mm
-3094-. |
When the engine is warm, the cooling system is under pressure. Danger of
scalding due to steam and hot coolant. There is a risk of injury to the
skin and parts of the body due to scalding.Always wear safety
gloves.Always wear safety goggles.Proceed as follows to release the
pressure: cover the cap of the coolant expansion tank with a cloth, and
open it carefully.
| – |
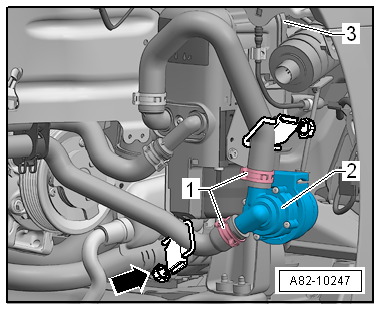
Unfasten O-type clips -1- and
pull coolant hoses off circulation pump -V55--2-. |
| – |
Disconnect connector -3- of
circulation pump -V55--2- at
auxiliary heater or at circulation pump -V55- (depending on
version). |
| – |
Pull circulation pump -V55--2-
off bracket. |
|
|
|
| – |
Slide circulation pump -V55--2-
onto bracket. |
| – |
Connect connector -3- of
circulation pump -V55--2- at
auxiliary heater or at circulation pump -V55- (depending on
version). Ensure proper engagement. |
| – |
Fit lower coolant hose. |
| – |
Open bottom hose clamps, up to 25 mm -3094--arrow-
until coolant is up to top edge of circulation pump -V55-. |
| – |
Fit upper coolant hose. |
| – |
Ensure cables are routed correctly and connectors remain
dry. |
| Remaining installation steps are performed in reverse order
of removal. |
| – |
If circulation pump -V55- is renewed, set operating hours
counter of circulation pump -V55- to zero using Guided functions
of vehicle diagnostic tester. |
| – |
Read event memory and clear entries using vehicle diagnostic
tester in “Guided fault finding” mode. |
| – |
If additional air entered cooling system during assembly,
coolant circuit must be bled
→ Chapter. |
| – |
Start auxiliary heater and run it at full load for at least
10 minutes so that fuel line is bled completely and you can
check operation of auxiliary heater. |
| Wheel housing liner; Removing and installing wheel housing
liner
→ General body repairs, exterior; Rep. gr.66 |
|
|
|
Removing
–
Switch off electrical consumers.
–
Switch off auxiliary and supplementary heater and switch o ...
Removing
Danger of severe burns from hot exhaust system. Burns to hands and other
body parts possible.Allow exhaust system to cool.
–
...
© 2016-2024 Copyright www.vwgolf.org

 Removing and installing air intake silencer
 Removing and installing exhaust system